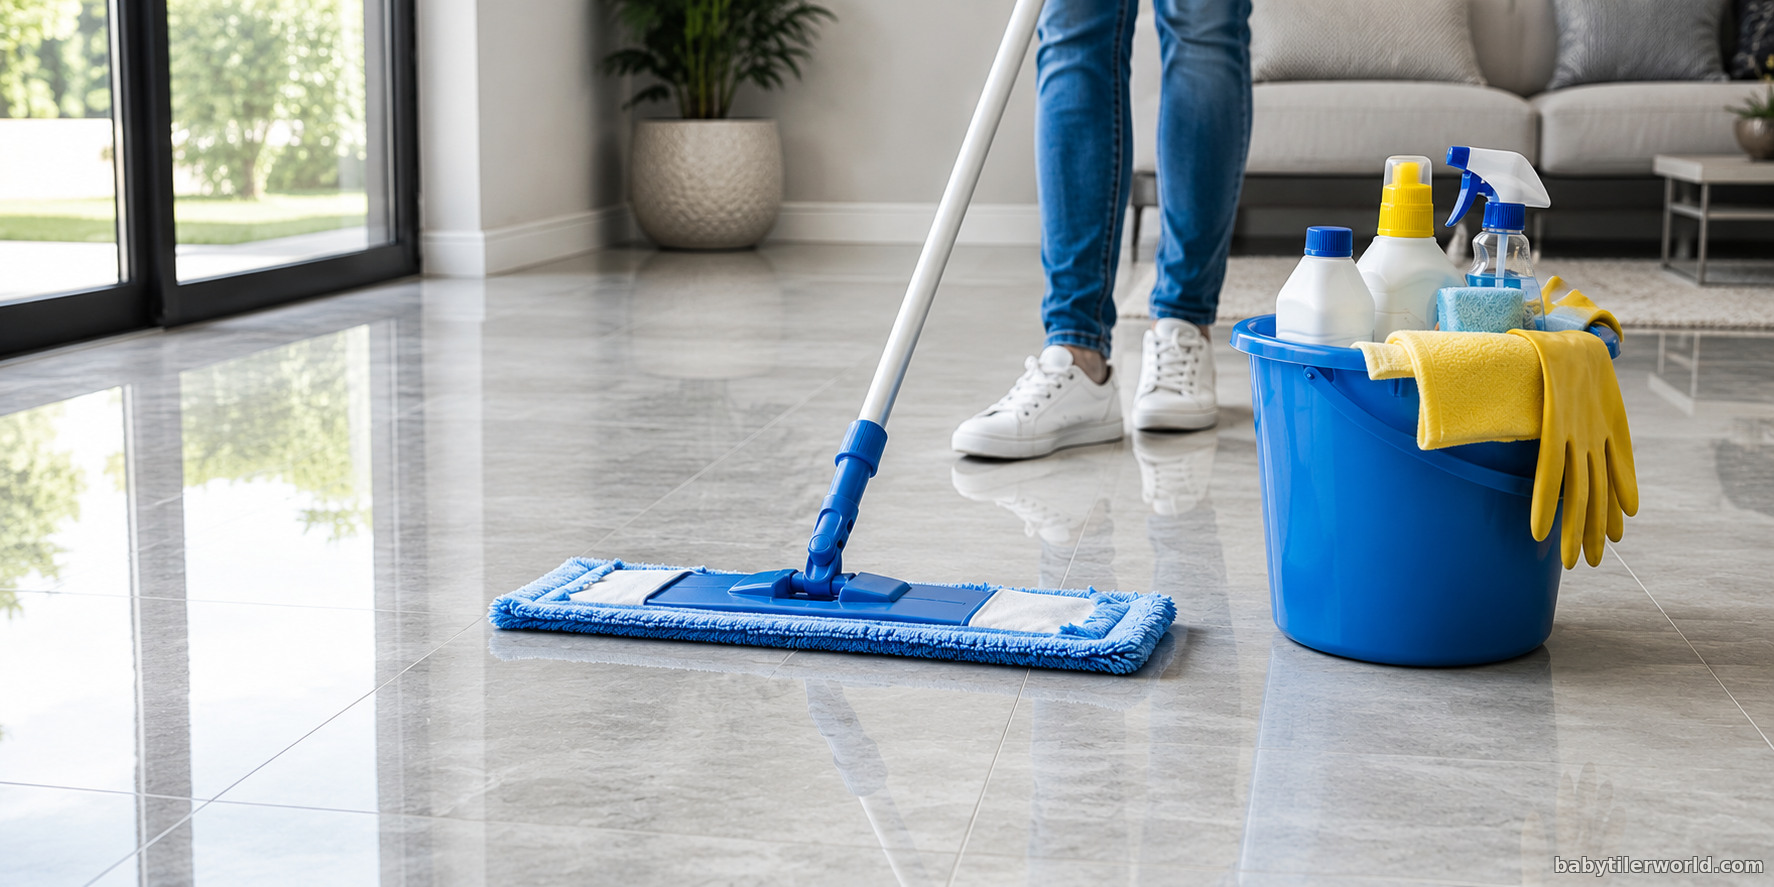
How to Clean Porcelain Tiles: The Complete Guide to Keeping Your Floors Looking New
Introduction
Porcelain tiles are one of the most sought-after flooring and wall materials in modern homes, and it's easy to understand why. They combine beauty, durability, and practicality in a way that few other flooring options can match. Whether installed in kitchens, bathrooms, living rooms, patios, or commercial spaces, porcelain tiles are designed to withstand years of daily use while maintaining their appearance.
One of their greatest advantages is how easy they are to clean. Unlike carpets that trap dirt or natural stone that often requires regular sealing, porcelain tiles resist stains, moisture, scratches, and wear remarkably well. Their dense composition makes them one of the most hygienic flooring choices available, making them especially popular in homes with children, pets, or high foot traffic.
However, many homeowners assume that because porcelain tiles are durable, they don't require proper care. This is one of the biggest misconceptions about porcelain flooring.
While porcelain tiles are incredibly resilient, using the wrong cleaning products or techniques can gradually reduce their appearance. Soap residue can dull polished finishes, abrasive brushes can damage grout, and harsh chemicals may affect surrounding materials or protective sealers. Even something as simple as dragging sand across the surface repeatedly can eventually create microscopic scratches that reduce the floor's shine.
The good news is that keeping porcelain tiles looking like new doesn't require expensive equipment or complicated cleaning routines. With the right products, a few simple habits, and an understanding of how porcelain behaves, you can preserve your tiles for decades while spending very little time on maintenance.
This comprehensive guide will walk you through everything you need to know about cleaning and maintaining porcelain tiles, including:
* Why porcelain tiles are naturally easy to clean
* The different types of porcelain tiles and how each should be maintained
* Daily, weekly, and deep-cleaning routines
* The safest cleaning products to use
* Products and chemicals you should avoid
* How to remove common household stains
* The best methods for cleaning grout
* Professional maintenance tips that help extend the life of your floor
Whether you've just installed new porcelain tiles or want to restore older ones to their original beauty, this guide will help you clean with confidence while avoiding common mistakes that can shorten the lifespan of your flooring.
Let's begin by understanding what makes porcelain tiles different from other flooring materials.
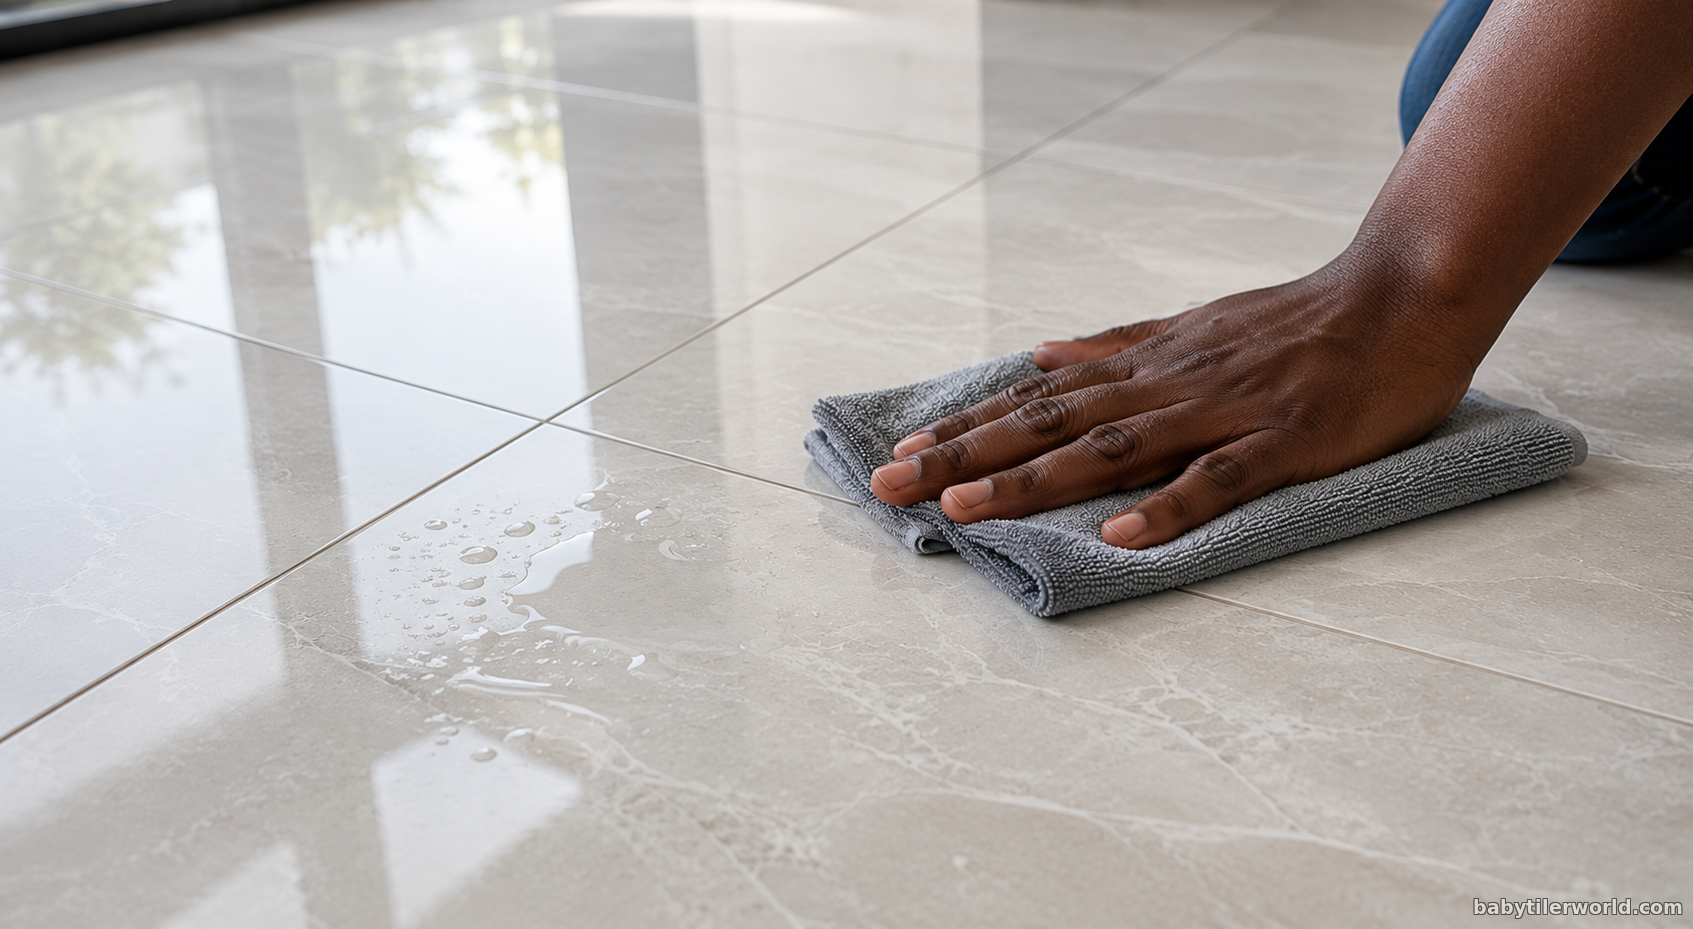
Why Porcelain Tiles Are Easy to Clean
One of the biggest reasons homeowners choose porcelain tiles is because they require very little maintenance compared to many other flooring materials. Unlike hardwood, which can absorb moisture, or carpet, which traps dirt and allergens, porcelain provides a hard, non-porous surface that naturally resists everyday messes.
But why exactly are porcelain tiles so easy to clean?
The answer lies in how they are manufactured.
Porcelain tiles are produced from highly refined clay mixed with minerals such as feldspar, silica, and kaolin. During manufacturing, the mixture is compressed under extremely high pressure before being fired inside kilns at temperatures that can exceed 1,200°C (2,192°F). This intense process transforms the raw materials into an exceptionally dense ceramic product with remarkable strength and durability.
The result is a tile that is:
* Extremely dense
* Highly resistant to scratches
* Resistant to moisture
* Resistant to most household stains
* Durable enough for heavy foot traffic
* Easy to maintain
One of porcelain's most impressive characteristics is its very low water absorption rate. By industry standards, porcelain tiles absorb less than 0.5% of water, making them one of the least porous flooring materials available.
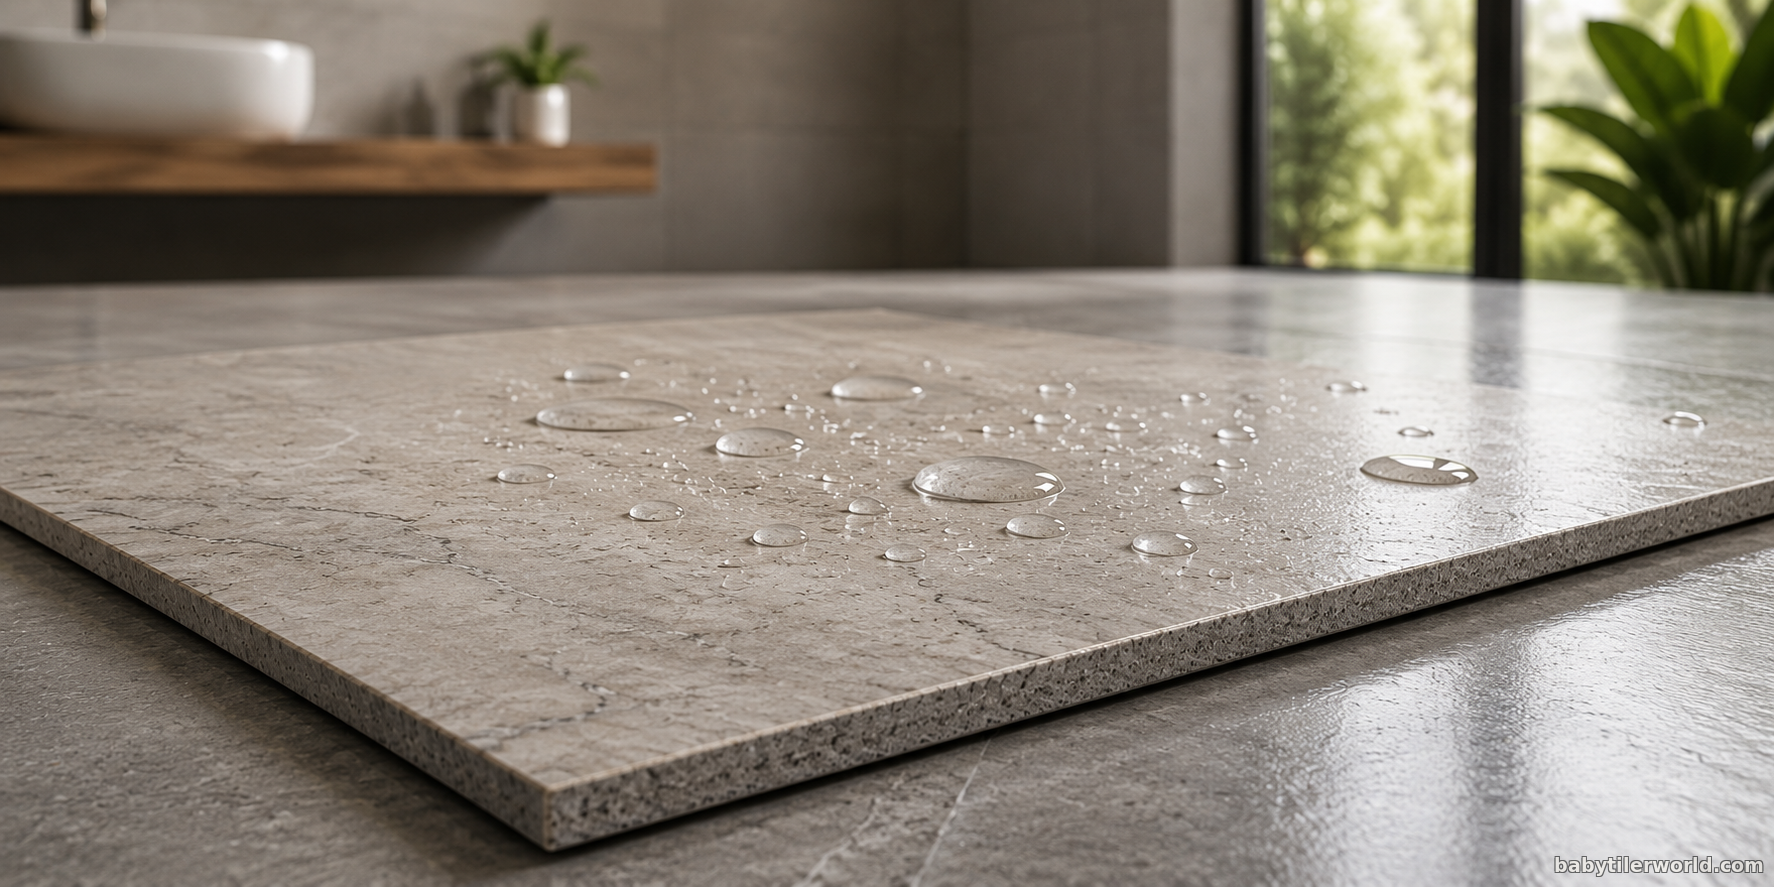
Why Low Water Absorption Matters
Imagine placing a drop of water on two different surfaces.
On untreated wood, the water gradually soaks into the material.
On a carpet, it immediately disappears into the fibers.
On a porcelain tile, however, the water remains on the surface, where it can simply be wiped away.
This same principle applies to many everyday spills such as coffee, juice, soft drinks, tea, cooking oil, and muddy footprints. Because liquids cannot easily penetrate the tile, cleaning usually involves removing the spill from the surface before it has a chance to dry.
This low porosity also means porcelain tiles are less likely to harbor bacteria, mold, or unpleasant odors compared to more absorbent flooring materials, making them an excellent choice for kitchens, bathrooms, hospitals, restaurants, and other hygiene-sensitive environments.
Dirt Doesn't Stick Easily
Another reason porcelain tiles are so easy to maintain is their smooth, dense surface.
Dust, pet hair, crumbs, pollen, and other everyday debris typically remain on top of the tile instead of becoming embedded within it. This allows simple tools such as a microfiber mop, broom, or vacuum cleaner to remove dirt quickly and efficiently.
Even textured porcelain tiles, which are designed to improve slip resistance, generally trap far less dirt than carpet or rough natural stone.
Porcelain Tiles Are Stain Resistant, Not Stain Proof
Although porcelain tiles resist most stains exceptionally well, they are not completely immune to discoloration.
Certain substances can still cause problems if left on the surface for extended periods, including:
* Coffee
* Tea
* Red wine
* Cooking oil
* Ink
* Rust
* Hard water deposits
The longer these materials remain on the tile, the more difficult they can become to remove. Fortunately, prompt cleaning usually prevents permanent staining.
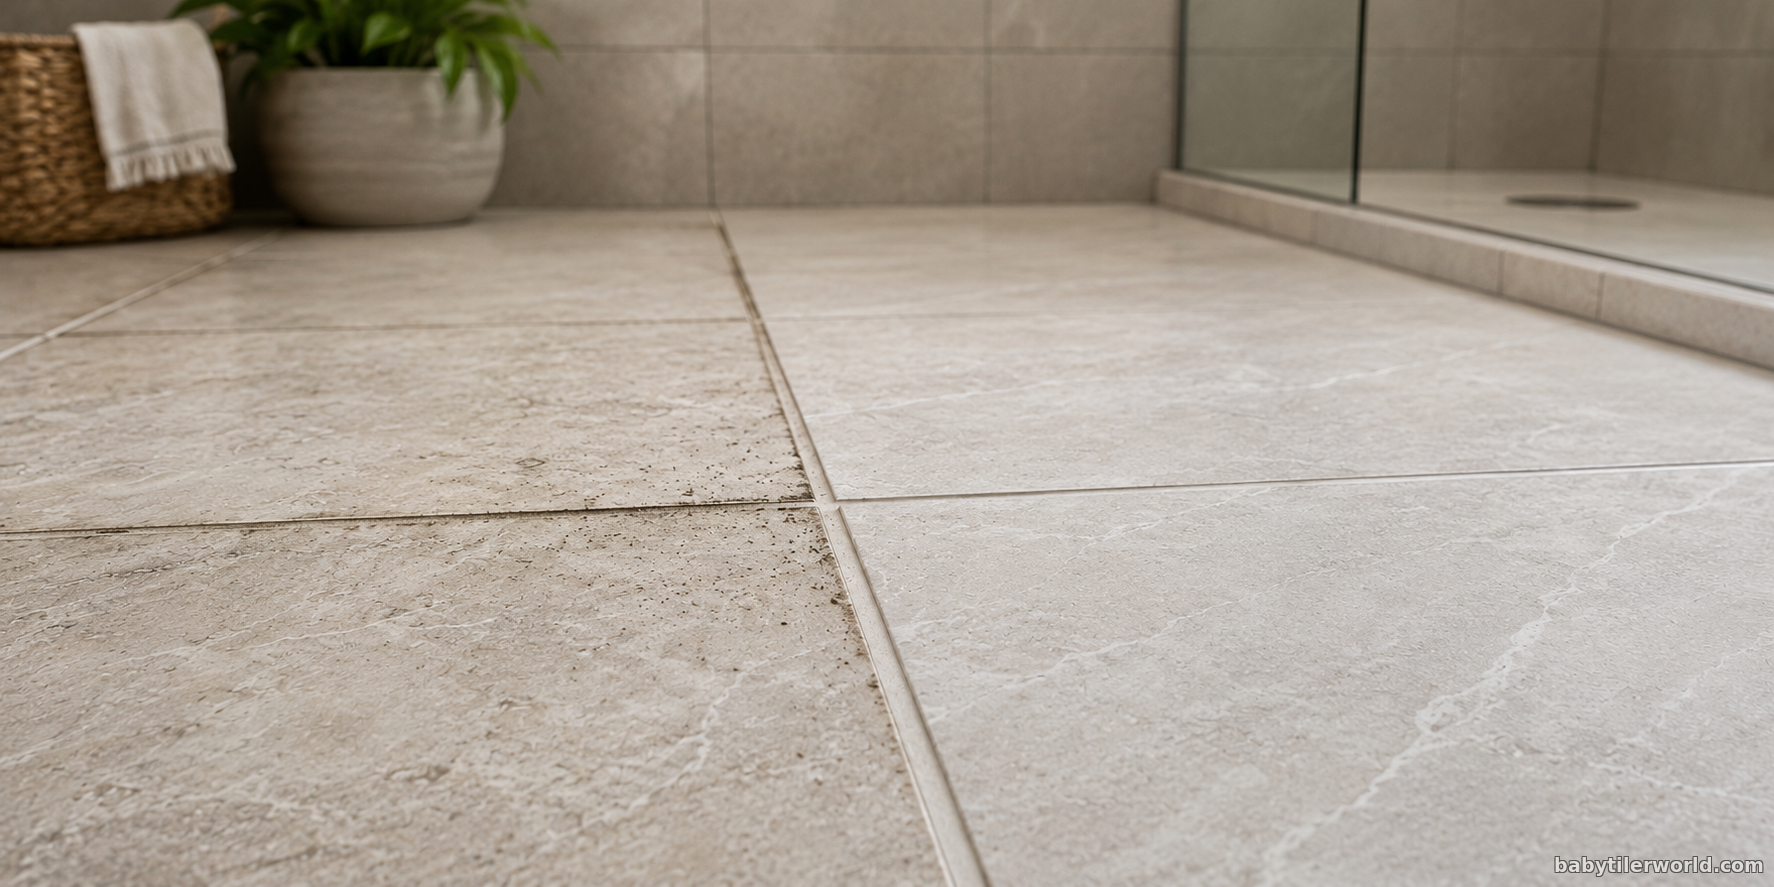
Don't Forget About the Grout
While porcelain itself is highly resistant to water and stains, the grout between tiles is a different story.
Most grout is made from cement-based materials, which are naturally porous. Over time, grout can absorb dirt, grease, soap residue, and moisture, causing it to darken or develop mold in damp environments.
This is why many people mistakenly believe their porcelain tiles have become dirty when, in reality, it is the grout that requires attention.
Cleaning both the tile surface and the grout lines regularly is the secret to keeping your entire floor looking fresh and well-maintained.
Why Homeowners Love Porcelain Tiles
Thanks to their durability and low-maintenance nature, porcelain tiles are widely used in:
* Kitchens
* Bathrooms
* Laundry rooms
* Living rooms
* Hallways
* Commercial buildings
* Shopping malls
* Hotels
* Restaurants
* Outdoor patios
Whether installed indoors or outdoors, porcelain tiles can maintain their appearance for decades with proper care.
Professional Tip: Even though porcelain tiles are extremely durable, always remove grit, sand, and small stones promptly. These abrasive particles can act like fine sandpaper underfoot, gradually dulling polished surfaces over many years of use.
Know Your Porcelain Tile Type
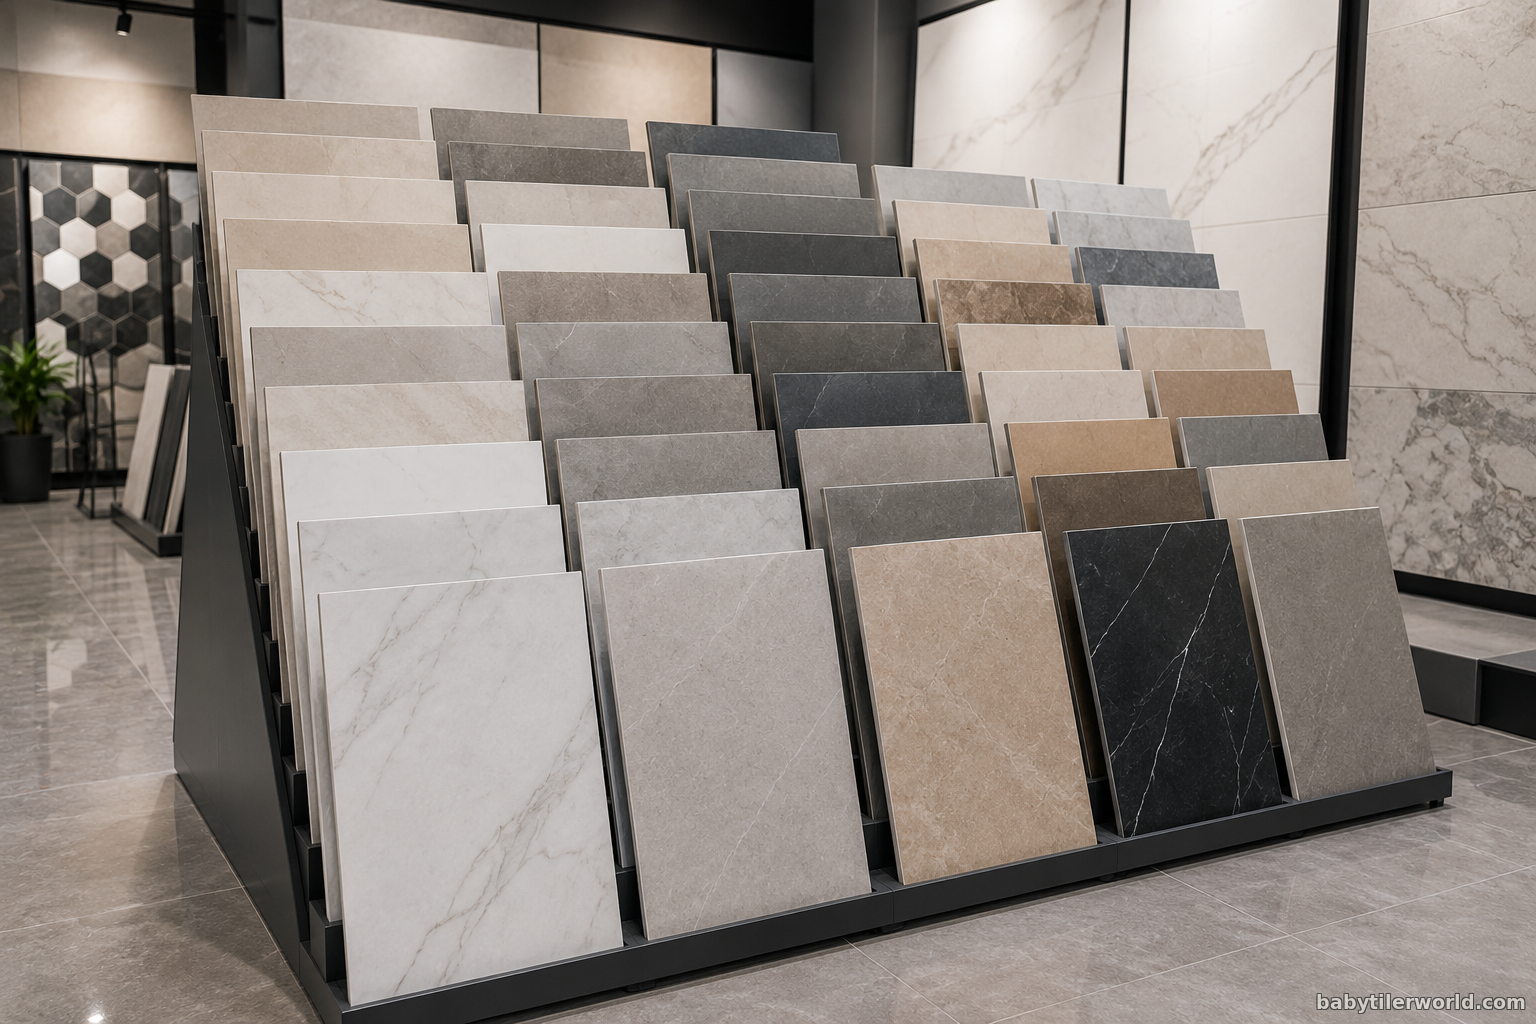
Before reaching for a mop or cleaning solution, it's important to understand that not all porcelain tiles are exactly the same. While every porcelain tile shares the same dense core and low water absorption, the surface finish can vary significantly, and each type benefits from slightly different cleaning techniques.
Identifying your tile type helps you choose the safest cleaning products, avoid accidental damage, and achieve the best possible results.
Let's look at the four most common types of porcelain tiles you'll encounter.
Glazed Porcelain Tiles
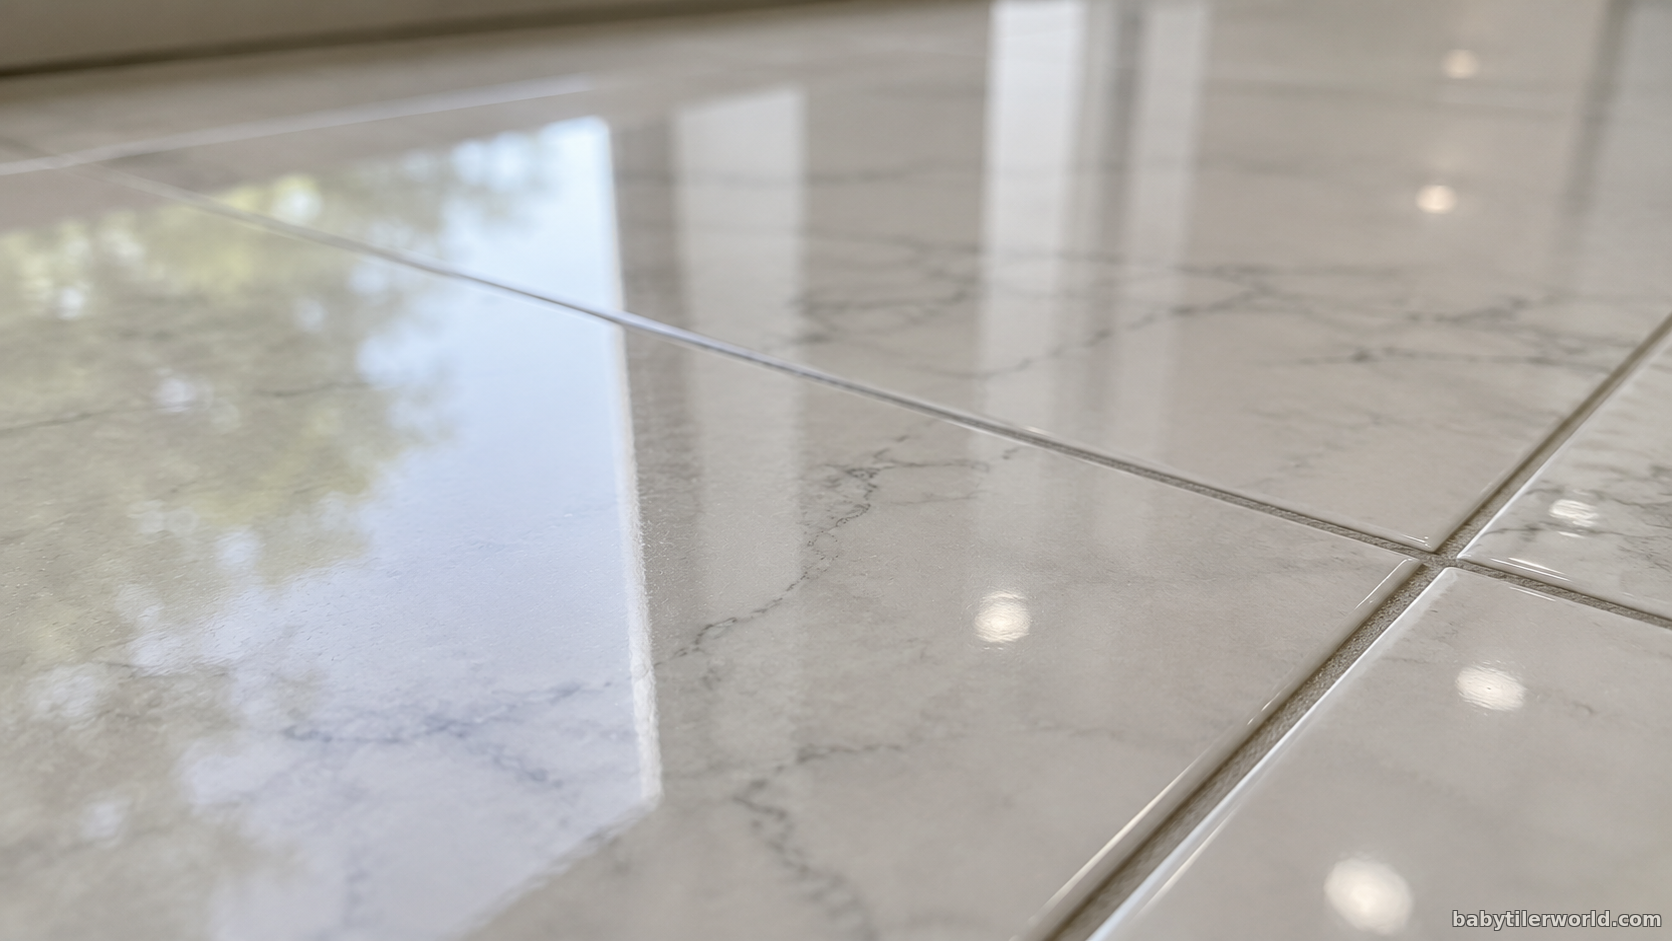
Glazed porcelain tiles are the most common type found in modern homes. During manufacturing, a thin glass-like coating called a glaze is fused to the surface of the tile at extremely high temperatures. This protective layer not only enhances the tile's appearance but also provides an additional barrier against moisture, stains, and everyday wear.
Because the glaze sits on top of the porcelain body, manufacturers can produce an incredible variety of finishes. Glazed porcelain can convincingly imitate natural marble, granite, slate, wood, concrete, terrazzo, and countless decorative patterns while offering far easier maintenance than the materials it replicates.
Advantages of Glazed Porcelain
* Excellent stain resistance
* Extremely easy to clean
* Wide variety of colors and patterns
* Highly resistant to fading
* Does not usually require sealing
* Suitable for most residential applications
Its smooth, protective finish means that dirt, grease, and liquids remain on the surface rather than penetrating the tile. Most everyday messes can be removed using nothing more than warm water and a microfiber cloth.
Best Cleaning Method
For routine maintenance:
1. Sweep or vacuum loose dirt.
2. Mop using warm water mixed with a pH-neutral tile cleaner.
3. Rinse with clean water if necessary.
4. Dry with a microfiber cloth to prevent streaks on polished finishes.
What to Avoid
Although glazed porcelain is very durable, avoid using:
* Steel wool
* Abrasive scrubbing powders
* Wire brushes
* Harsh acidic cleaners
* Strong alkaline chemicals
These products can gradually dull or scratch the glazed surface.
Professional Tip: If your glazed porcelain has a high-gloss finish, dry the floor after mopping to eliminate water spots and maintain its reflective shine.
Unglazed Porcelain Tiles
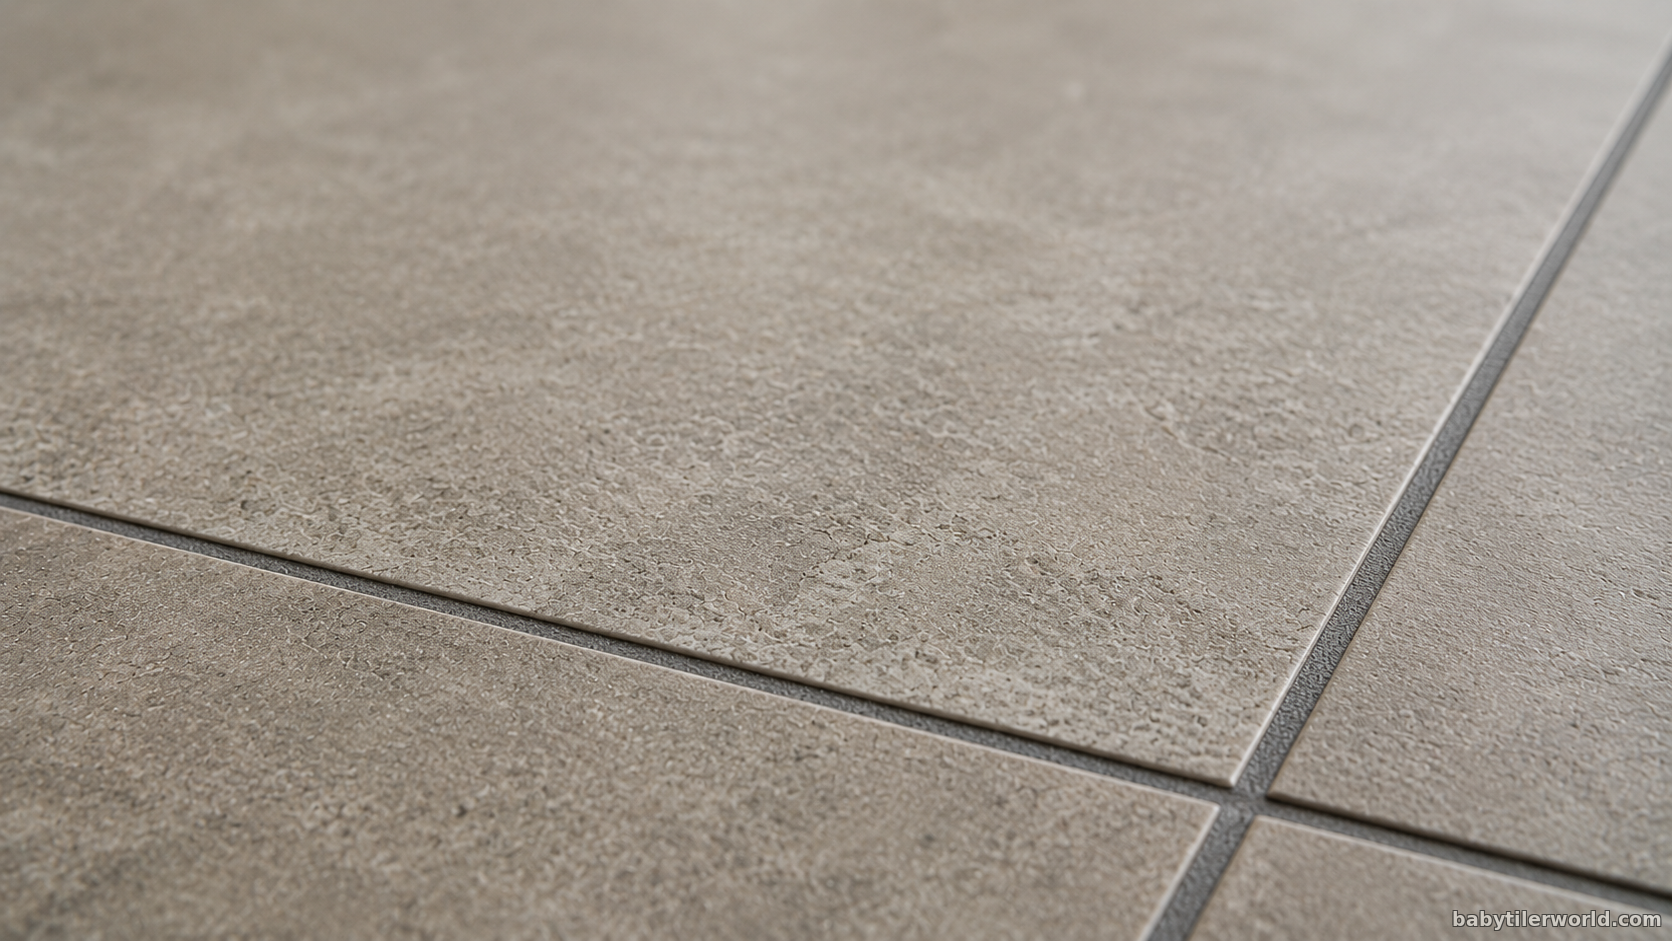
Unlike glazed porcelain, unglazed porcelain has no additional coating applied to its surface. Instead, the tile's color and texture extend all the way through its body, a characteristic often referred to as through-body porcelain.
Because there is no surface glaze, unglazed porcelain has a more natural appearance and is often chosen for spaces where durability and slip resistance are more important than a highly polished look.
It is commonly installed in:
* Commercial buildings
* Shopping centers
* Restaurants
* Industrial facilities
* Outdoor patios
* Garages
* High-traffic hallways
Advantages of Unglazed Porcelain
* Outstanding durability
* Excellent slip resistance
* Color runs throughout the tile, making chips less noticeable
* Natural, stone-like appearance
* Ideal for heavy foot traffic
Cleaning Considerations
The slightly textured surface can hold onto fine dust and dirt more easily than glazed porcelain. This doesn't mean it's difficult to clean, but it may require a little more brushing during routine maintenance.
A soft-bristle nylon brush often works better than a flat microfiber mop for textured areas because it reaches into the tiny surface irregularities where dirt can collect.
Best Cleaning Method
1. Sweep or vacuum thoroughly.
2. Apply a pH-neutral cleaner diluted in warm water.
3. Gently scrub using a soft nylon brush.
4. Rinse thoroughly.
5. Allow the floor to air dry or wipe dry with a microfiber towel.
Professional Tip: Never assume unglazed porcelain needs sealing. Many modern unglazed porcelain tiles do not require it, but always follow the tile manufacturer's recommendations.
Polished Porcelain Tiles
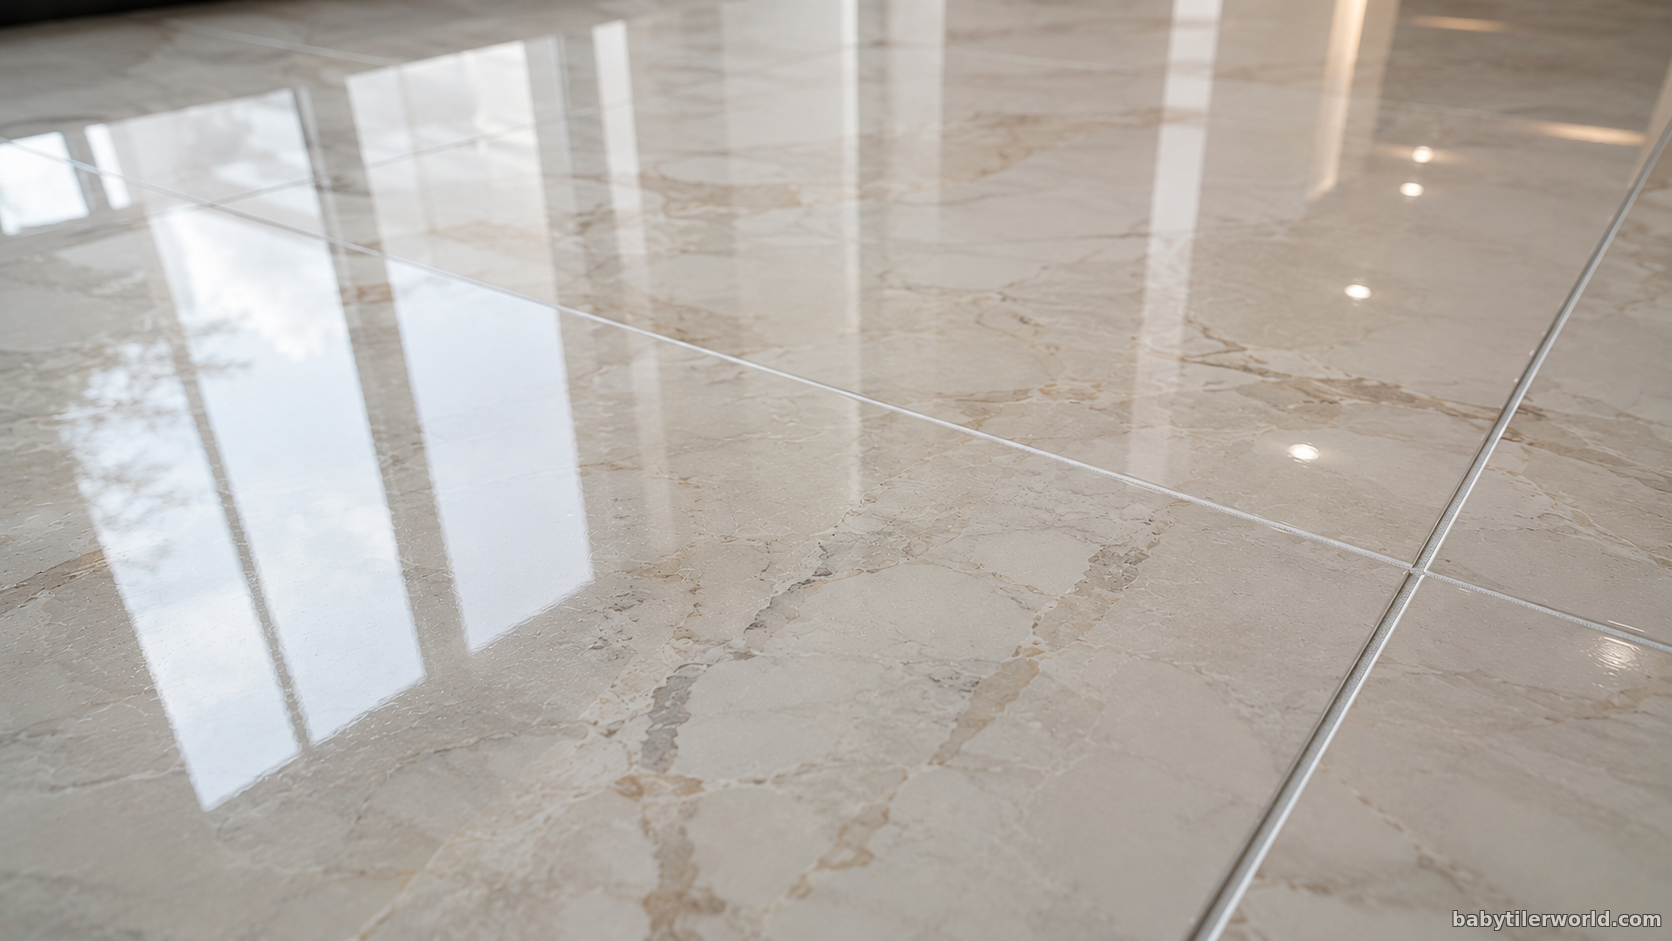
Polished porcelain tiles are prized for their luxurious, mirror-like finish. Rather than receiving a glossy glaze, these tiles are mechanically polished using specialized abrasives until the surface becomes highly reflective.
The result is an elegant floor that reflects natural light, making rooms feel brighter and more spacious.
Polished porcelain is commonly used in:
* Luxury homes
* Hotel lobbies
* Reception areas
* High-end retail stores
* Contemporary living spaces
Advantages
* Stunning reflective finish
* Brightens interior spaces
* Elegant appearance
* Easy to wipe clean
* Sophisticated modern aesthetic
Cleaning Considerations
Because polished porcelain reflects so much light, it also reveals:
* Dust
* Footprints
* Water spots
* Soap residue
* Streaks
For this reason, proper cleaning technique becomes especially important.
Best Cleaning Method
Use:
* Warm water
* A microfiber mop
* Small amounts of pH-neutral cleaner
* A dry microfiber towel afterward
Using excessive detergent is one of the most common reasons polished porcelain loses its shine. Soap residue forms a thin film that makes the surface appear dull.
Professional Tip: Less cleaner often produces a cleaner-looking polished floor.
Textured Porcelain Tiles
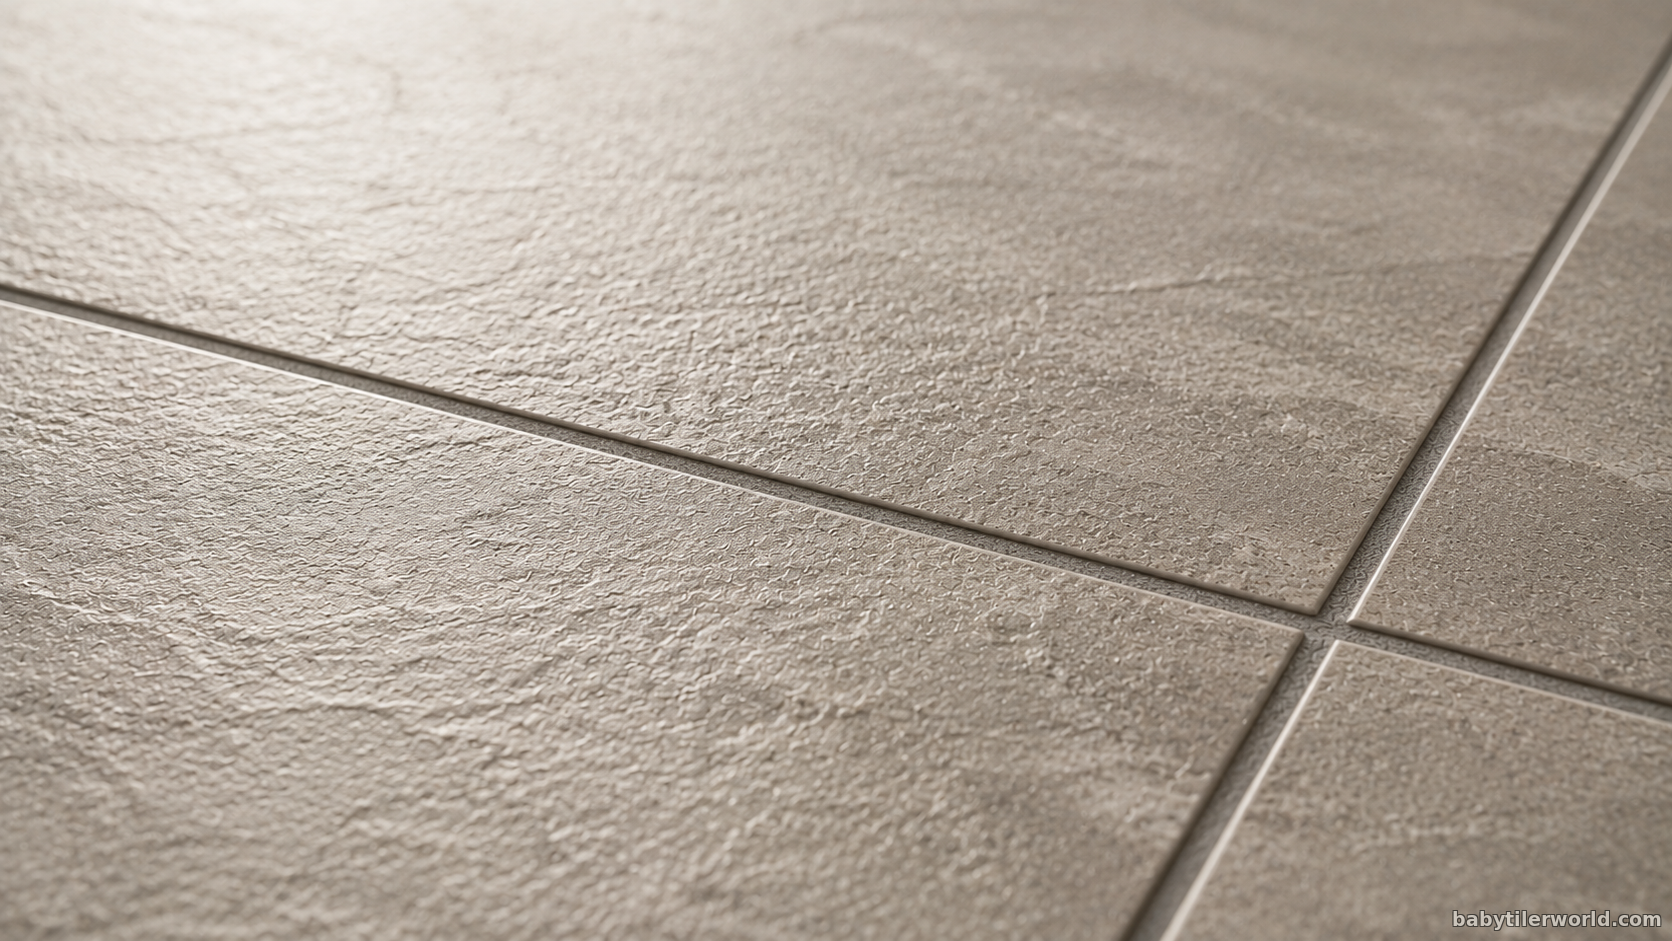
Textured porcelain tiles are specifically designed to improve traction. Their surface contains small ridges, grooves, or stone-like patterns that help reduce slipping, especially in wet environments.
These tiles are often installed in:
* Bathrooms
* Shower floors
* Pool surrounds
* Outdoor patios
* Entryways
* Commercial walkways
Advantages
* Excellent slip resistance
* Better grip in wet conditions
* Natural stone appearance
* Highly durable
* Suitable for indoor and outdoor use
Cleaning Considerations
The same texture that improves safety can also trap fine dirt more easily than smooth porcelain.
Instead of relying solely on a microfiber mop, occasional gentle scrubbing with a soft nylon brush helps lift dirt from the textured surface.
Best Cleaning Method
1. Sweep away loose debris.
2. Apply warm water with a pH-neutral cleaner.
3. Scrub lightly using a soft nylon brush.
4. Rinse thoroughly.
5. Allow the surface to dry naturally or wipe dry.
Avoid using wire brushes or aggressive abrasive pads, as these can damage grout and surrounding materials.
Professional Tip: Textured porcelain installed outdoors benefits from more frequent sweeping to prevent leaves, mud, and sand from accumulating within the surface texture.
Daily & Weekly Cleaning Routine + Deep Cleaning Porcelain Tiles
Daily Cleaning Routine
Porcelain tiles don't require complicated maintenance, but consistency makes a huge difference. A few minutes of cleaning each day prevents dirt from building up and helps preserve the tile's appearance for years.
Many people assume porcelain is "maintenance-free." While it's certainly one of the easiest flooring materials to maintain, neglect still allows dirt, sand, grease, and soap residue to accumulate. Over time, these can dull the surface and make cleaning more difficult.
The goal isn't to spend more time cleaning.
It's to prevent the need for heavy cleaning later.
Step 1: Sweep or Vacuum
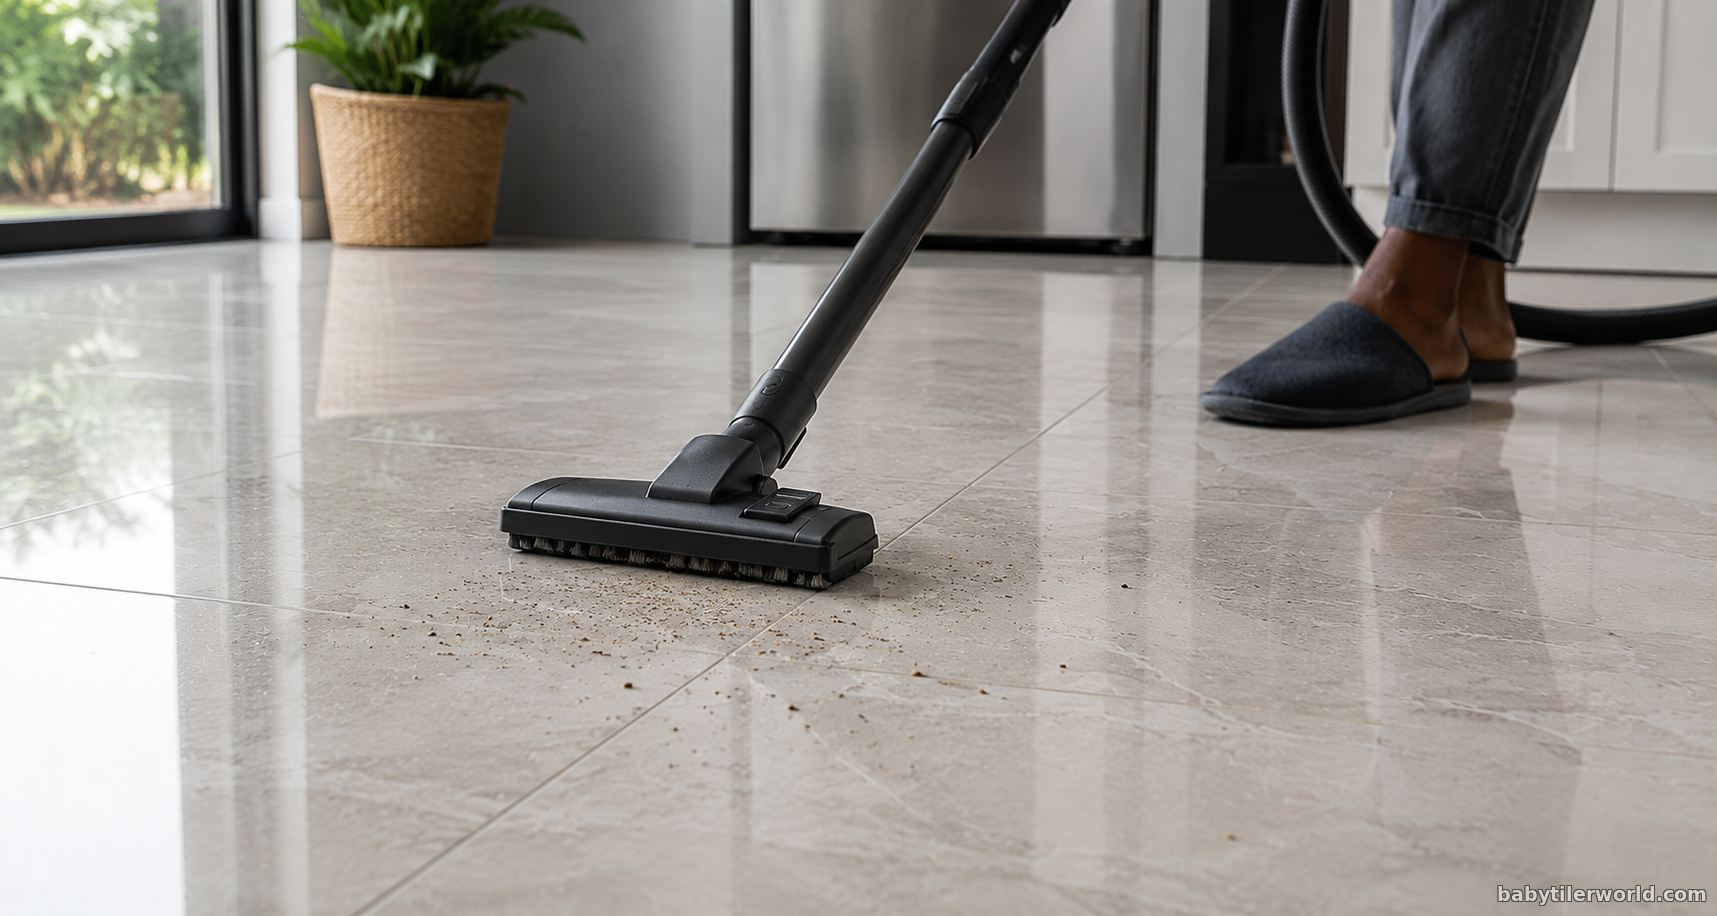
Every day, remove loose dirt before it gets ground into the floor.
Small particles like sand, dust, pet hair, and tiny stones may seem harmless, but when people walk over them repeatedly, they act like fine sandpaper.
Although porcelain is extremely hard and resistant to scratches, abrasive particles can still wear away the finish over many years, especially on polished porcelain.
Use one of the following:
* A soft-bristle broom
* A microfiber dust mop
* A vacuum with a hard-floor attachment
Avoid vacuum heads with rotating brush rollers unless they're designed for hard flooring, as stiff brushes may leave marks on polished finishes.
Pay extra attention to:
* Entryways
* Kitchen floors
* Hallways
* Dining areas
* Areas under tables
These locations collect the most dirt throughout the day.
Step 2: Damp Mop
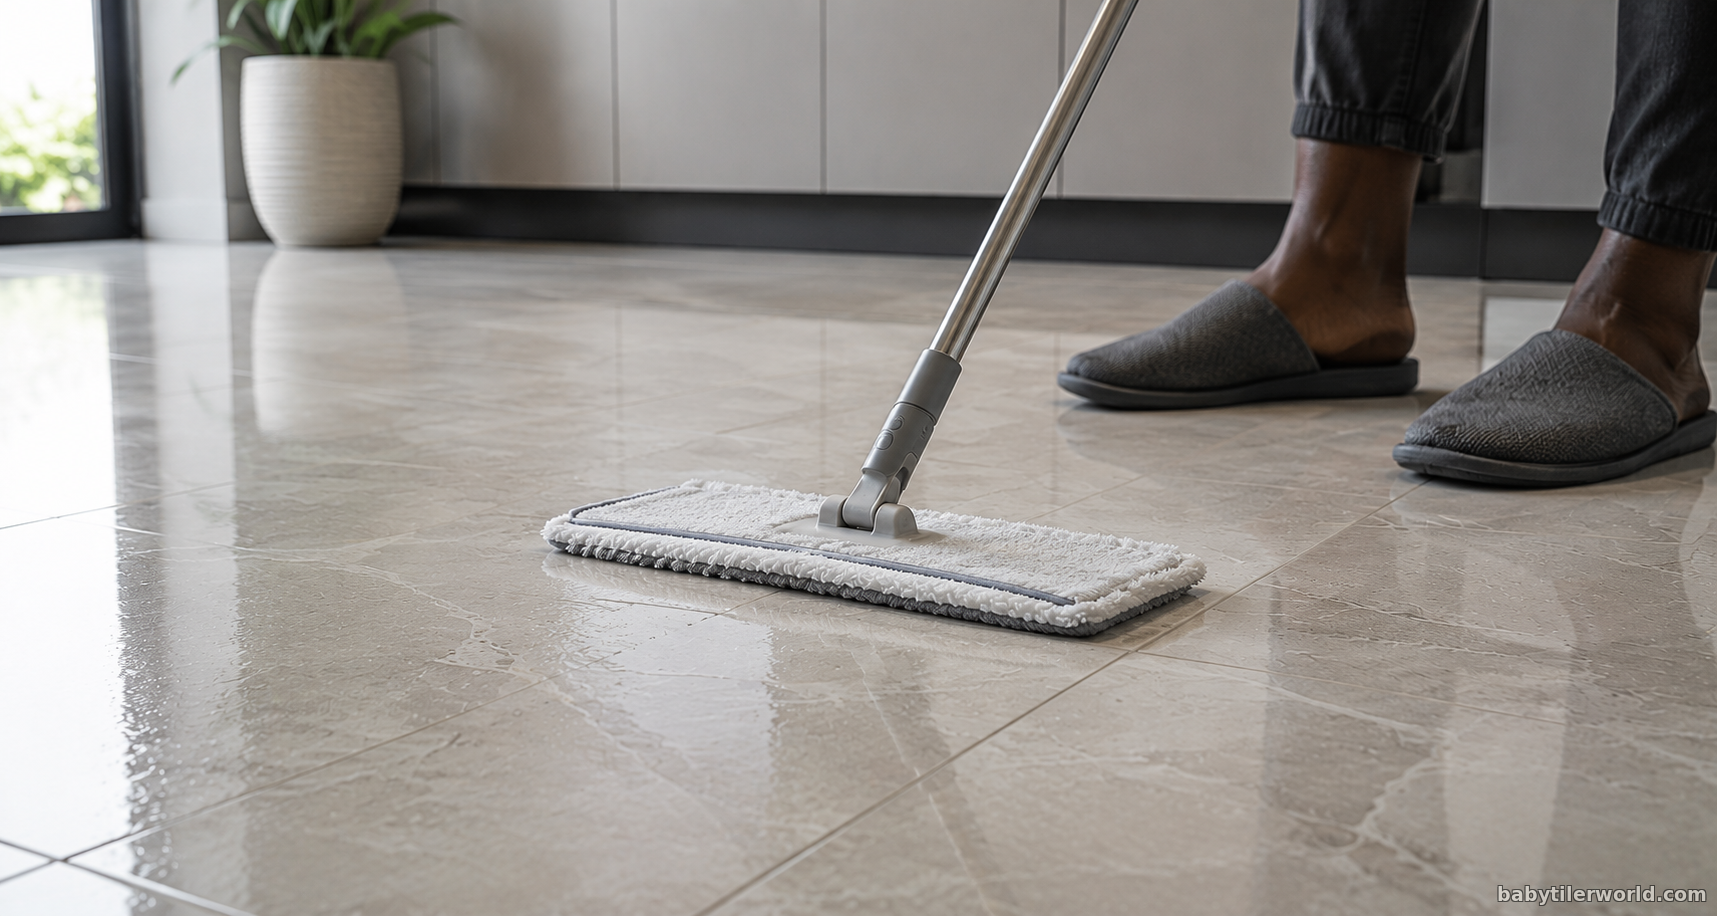
Once loose dirt has been removed, use a damp microfiber mop with warm water.
For normal daily cleaning, warm water alone is often enough.
If additional cleaning power is needed, add a few drops of a pH-neutral tile cleaner.
The mop should be damp, not soaking wet.
Excess water isn't necessary because porcelain absorbs very little moisture.
A microfiber mop is preferred because it:
* Lifts dirt instead of pushing it around
* Uses less water
* Dries faster
* Leaves fewer streaks
Work in manageable sections rather than trying to mop the entire room at once.
Rinse the mop frequently so you're cleaning with fresh water instead of spreading dirty water across the floor.
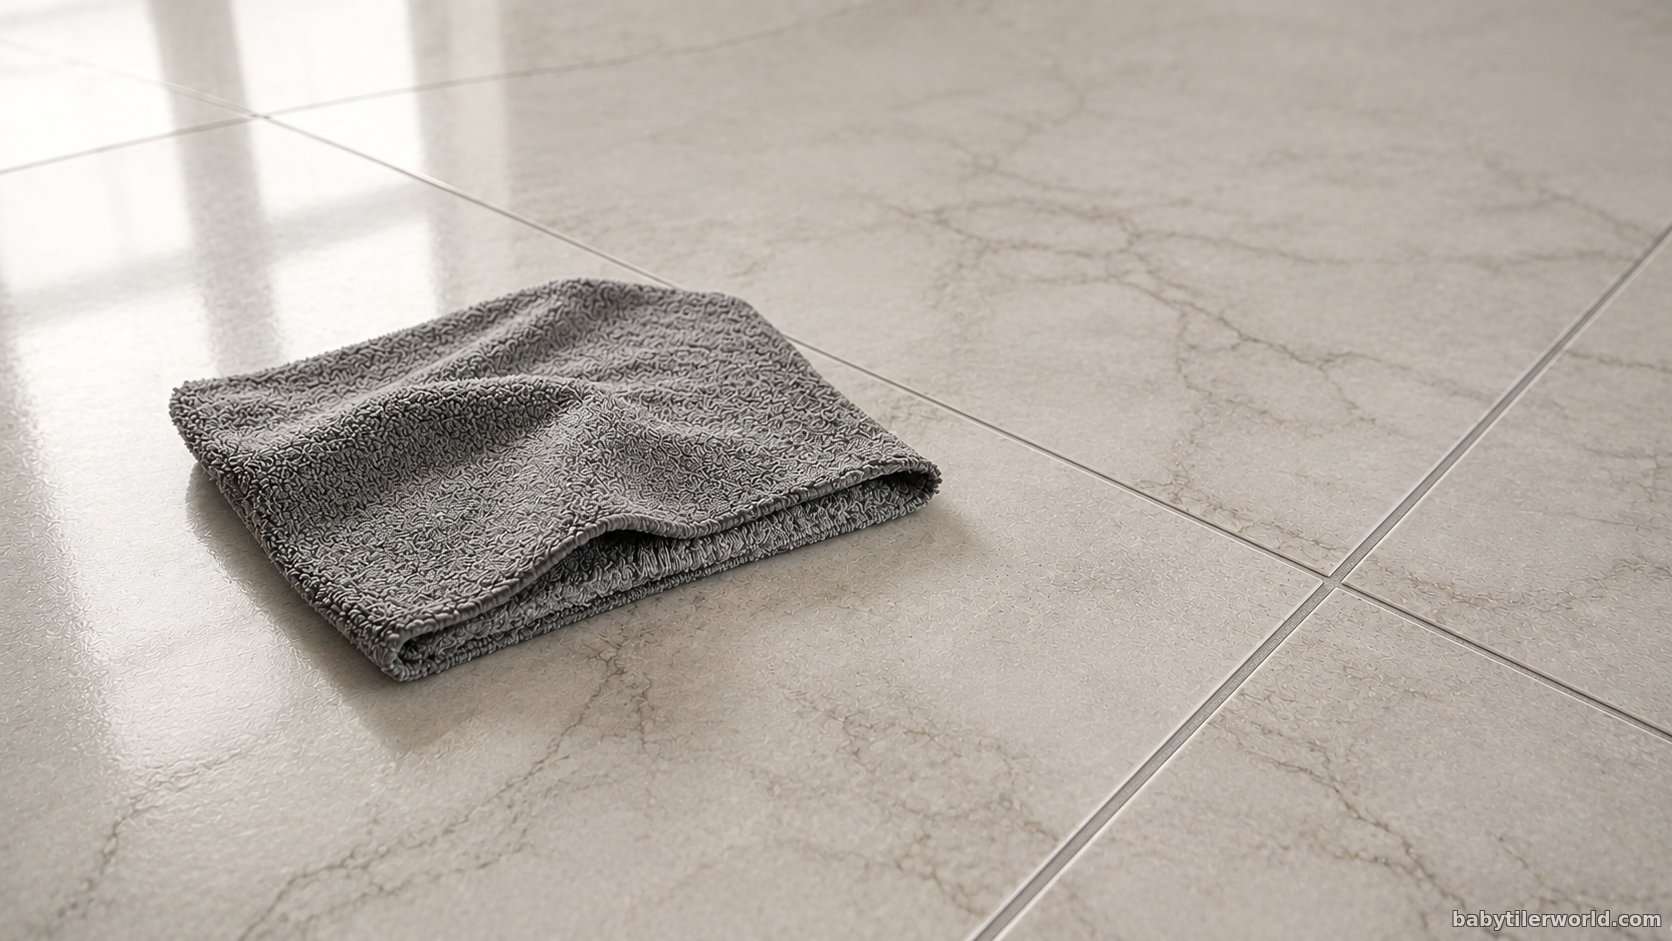
Step 3: Dry the Surface
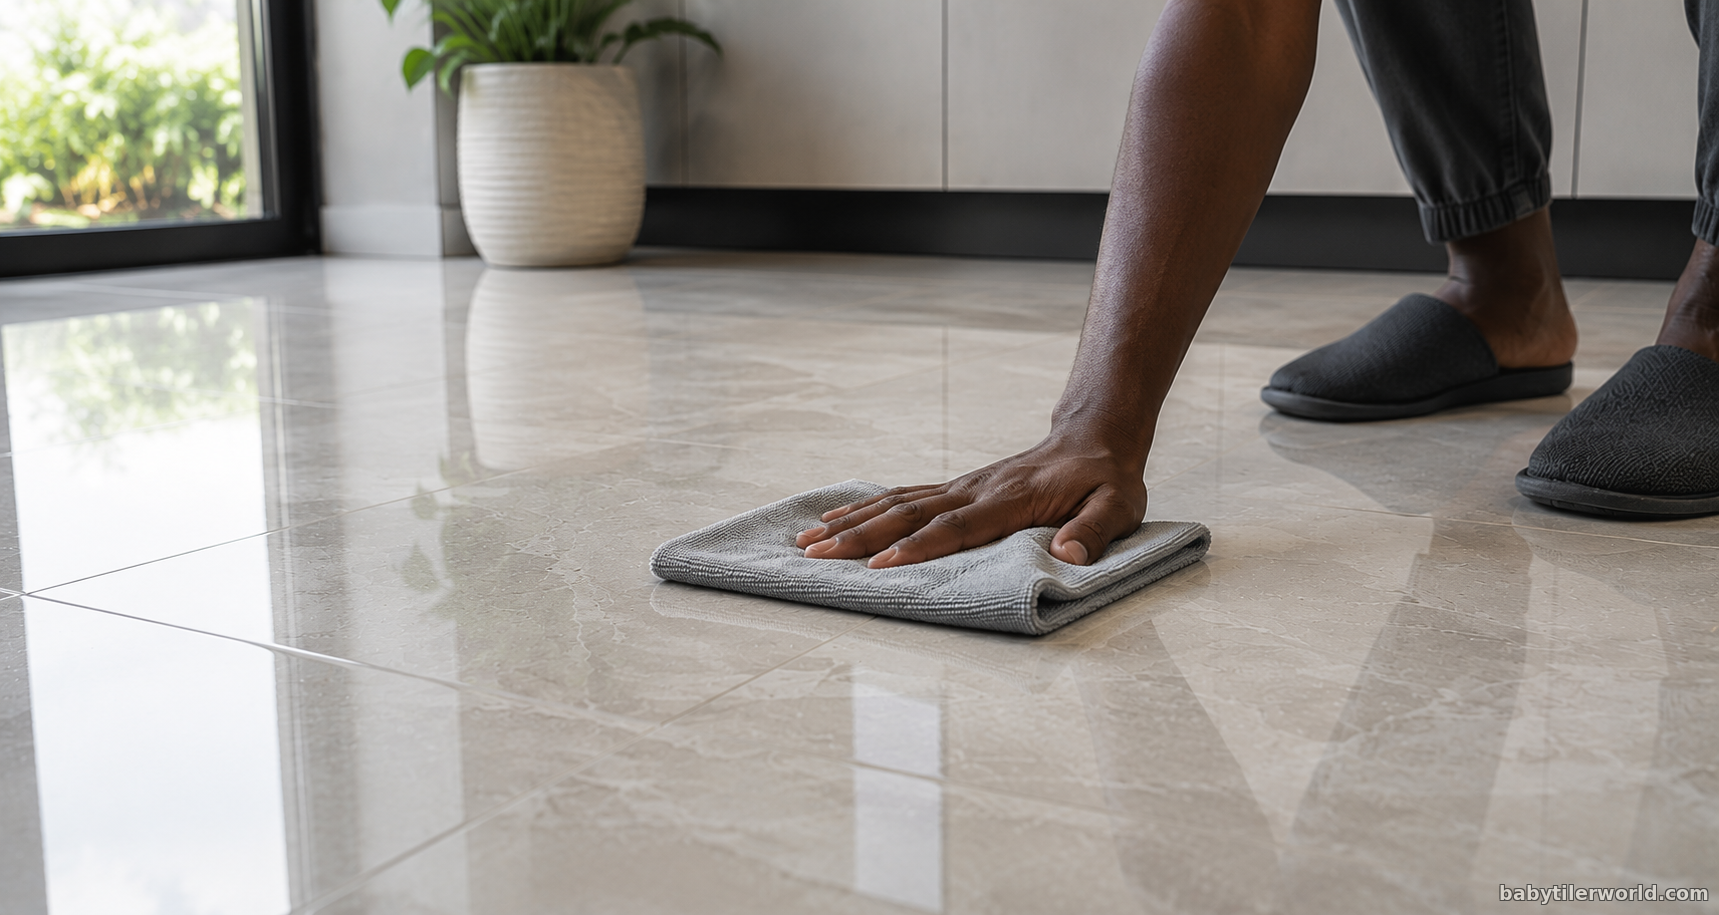
Although porcelain is highly water-resistant, drying the floor after mopping offers several benefits.
A dry microfiber cloth removes:
* Water spots
* Cleaning residue
* Streaks
* Mineral deposits from hard water
This is especially important for polished porcelain tiles, where streaks are much more visible.
Matte porcelain usually hides water marks better but still benefits from drying.
Drying also reduces the chance of someone slipping on freshly cleaned floors.
Weekly Cleaning Routine
Daily maintenance removes surface dirt.
Weekly cleaning removes everything daily cleaning leaves behind.
This includes:
* Grease films
* Soap residue
* Foot traffic buildup
* Cooking oils
* Sticky residues
* Fine dust trapped in textured surfaces
A deeper clean restores the tile's original appearance before buildup becomes noticeable.
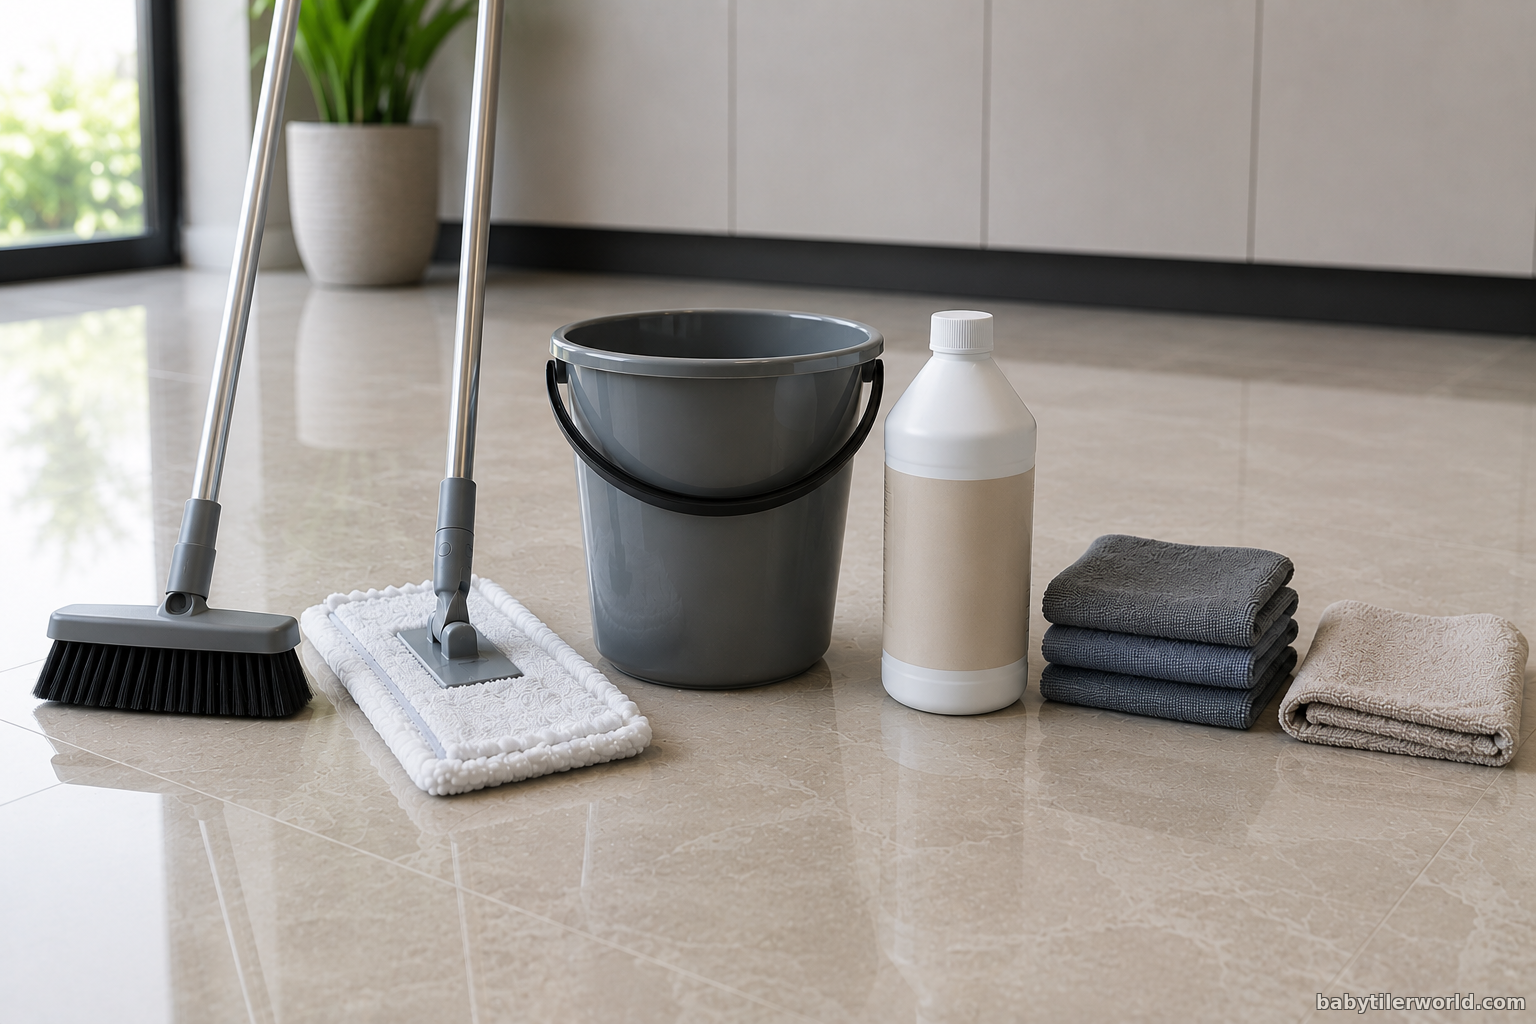
What You'll Need
Before starting, gather the right supplies.
Recommended tools include:
* Warm water
* pH-neutral porcelain tile cleaner
* Two buckets (one for clean solution, one for rinsing)
* Microfiber mop
* Soft sponge
* Soft nylon brush
* Dry microfiber towel
Having two buckets helps prevent dirty water from being reapplied to the floor.
Professional cleaners commonly use this method because it produces better results.
Deep Cleaning Porcelain Tiles
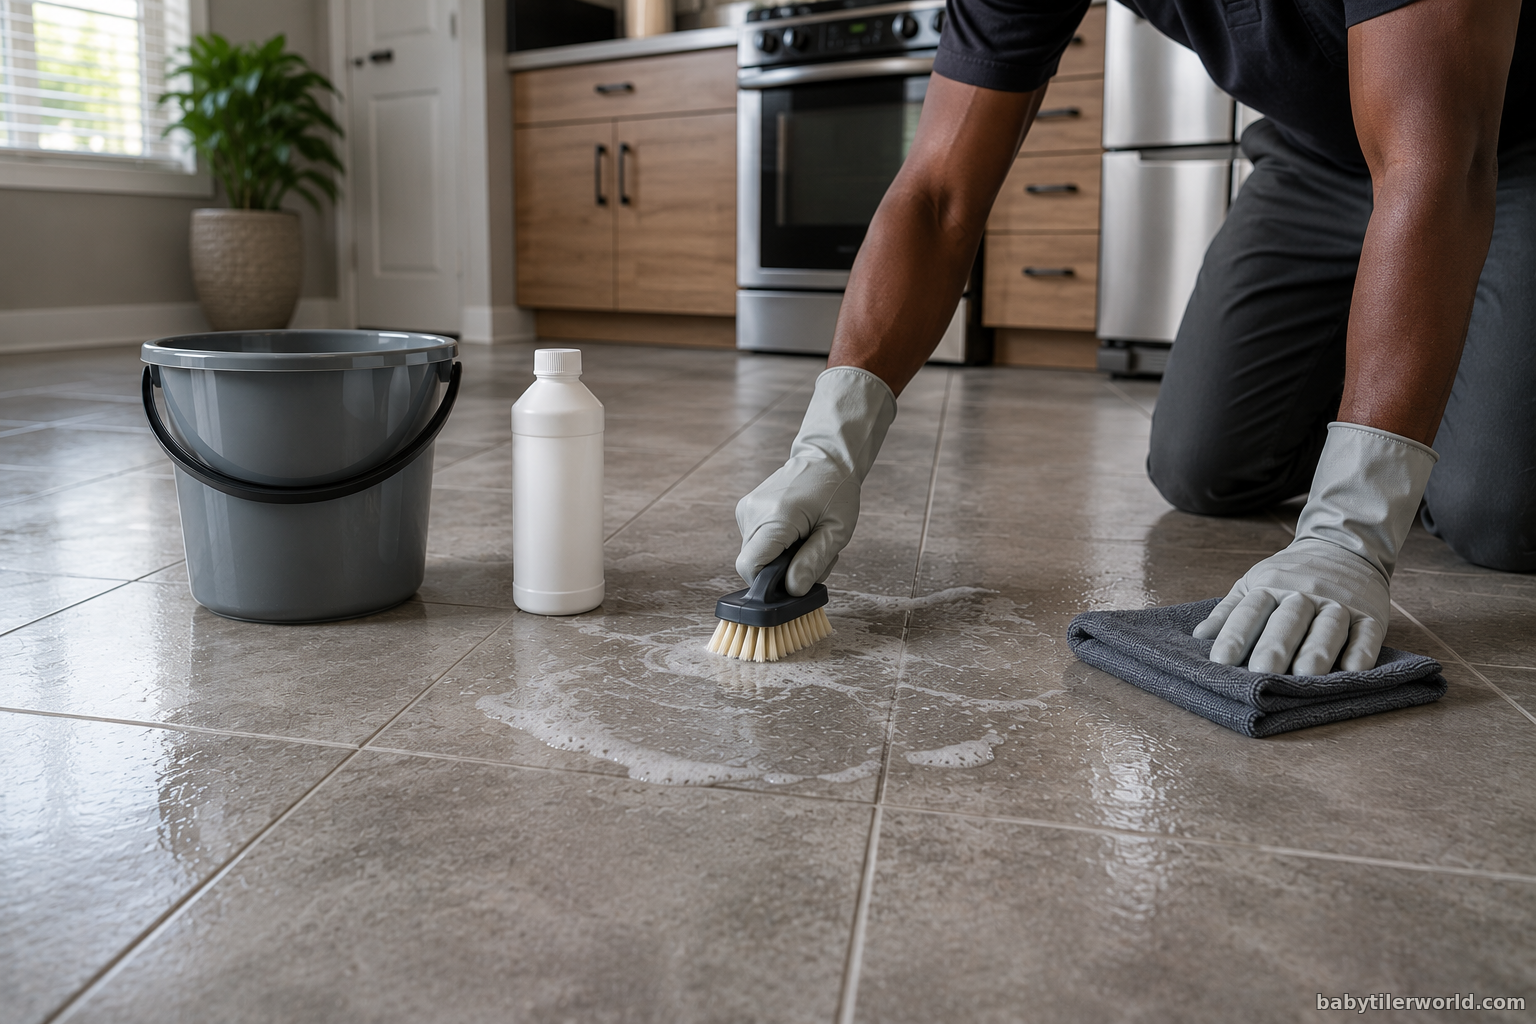
Start by vacuuming or sweeping thoroughly.
Any remaining grit can interfere with cleaning and may spread across the surface while mopping.
Next, prepare the cleaning solution according to the manufacturer's instructions.
Avoid assuming that using more cleaner will produce better results.
In reality, using too much cleaner often leaves behind a sticky film that attracts even more dirt.
Dip the microfiber mop into the cleaning solution and wring out excess water.
Clean one small section at a time.
If you encounter stubborn dirt, allow the cleaning solution to sit for a few minutes.
This gives the cleaner time to break down grease and grime instead of forcing you to scrub aggressively.
For textured porcelain tiles, use a soft nylon brush to clean the recessed areas.
Brush gently in circular motions rather than applying excessive force.
After cleaning each section, rinse the floor using clean water from the second bucket.
This step removes leftover cleaning solution that would otherwise dry into a haze.
Finally, dry the surface with a microfiber towel.
You'll immediately notice the difference.
The tiles regain their natural appearance without streaks or residue.
Why Microfiber Works Better
Not all mops clean the same way.
Traditional cotton string mops tend to push dirty water around the floor.
Microfiber works differently.
Its tiny fibers trap dirt, oils, and bacteria instead of simply moving them.
This means:
* Better cleaning with less effort
* Less water usage
* Faster drying
* Fewer streaks
* Reduced need for harsh chemicals
Studies have also shown that microfiber cleaning systems can remove significantly more microorganisms than conventional cotton mops when used properly, making them an effective option for routine household cleaning.
Common Daily Cleaning Mistakes
Many porcelain floors lose their shine not because the tile is damaged, but because of small cleaning habits repeated over time.
Some of the most common mistakes include:
Using Too Much Cleaner
More soap doesn't mean a cleaner floor.
Excess cleaner leaves behind residue that attracts dust and dirt.
Always follow the recommended dilution ratio.
Using Dirty Mop Water
Cleaning with dirty water simply spreads grime across the surface.
Replace the water whenever it becomes cloudy.
Skipping the Sweep
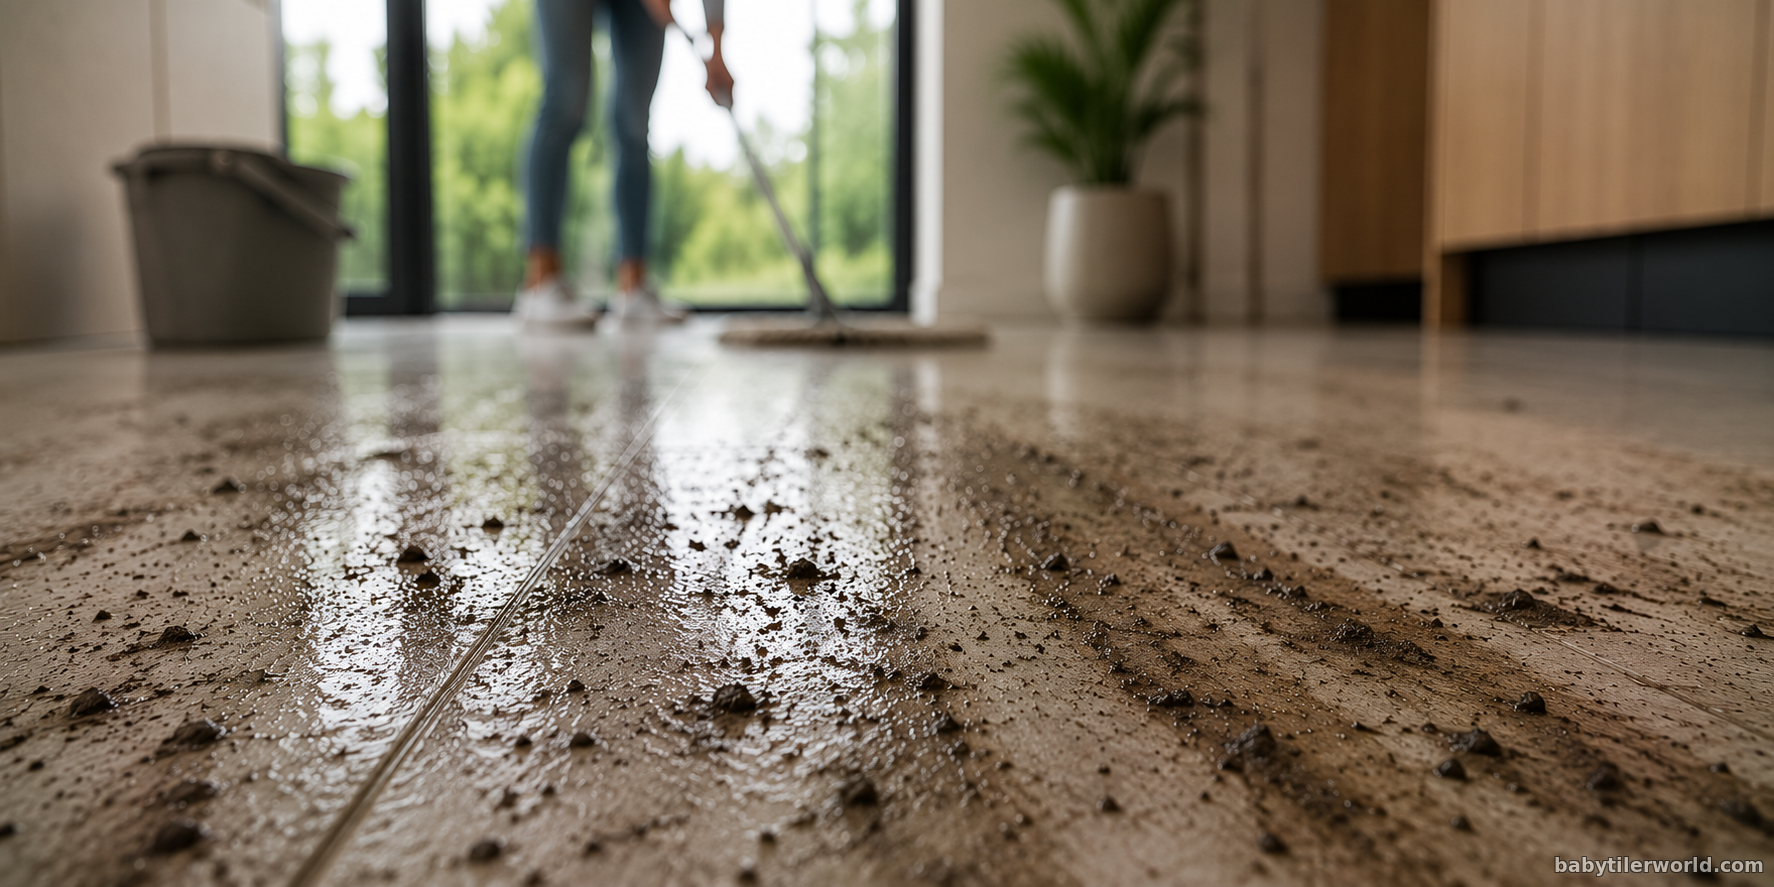
Mopping before removing loose dirt turns dust into muddy residue that's harder to clean.
Always sweep or vacuum first.
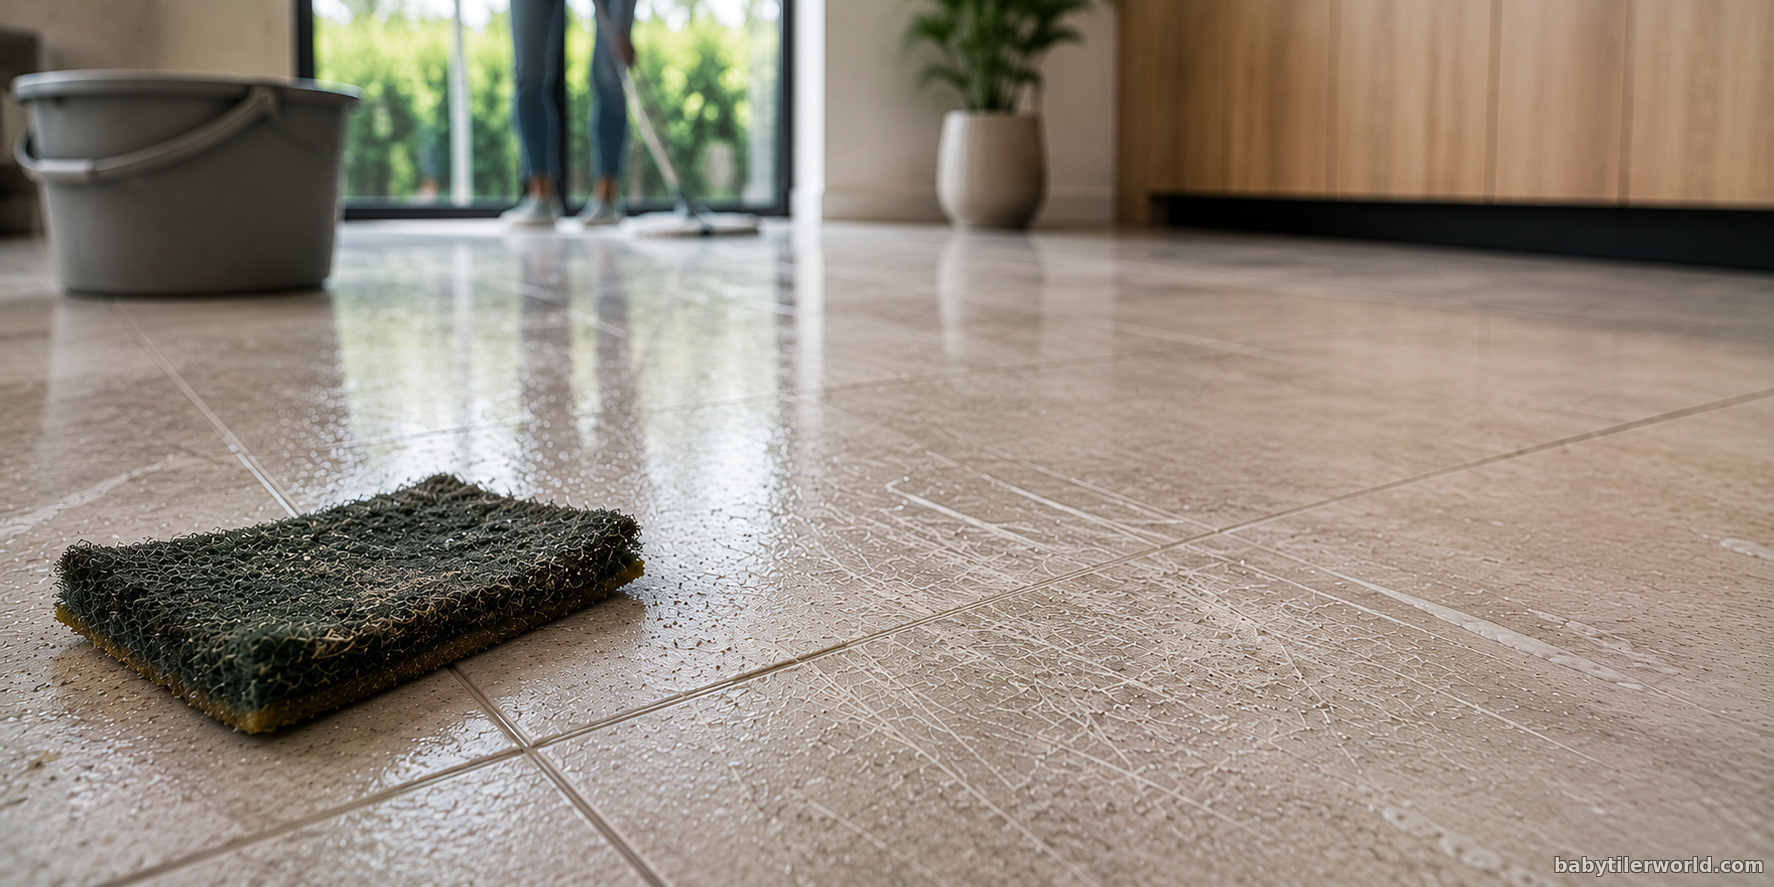
Using Abrasive Scrubbing Pads
Steel wool and harsh scouring pads can damage polished porcelain finishes and may leave fine scratches.
Stick with soft nylon brushes or non-abrasive cleaning pads.
HOW TO CLEAN PORCELAIN TILES
How to Remove Common Stains
Even though porcelain tiles are highly stain-resistant, they aren't completely stain-proof.
The good news is that most stains don't permanently damage porcelain. They simply sit on the surface until they're cleaned properly.
The bad news?
Many homeowners accidentally make the stain worse by using the wrong cleaner, scrubbing too aggressively, or waiting too long before cleaning.
Let's look at the most common stains you'll encounter and exactly how professionals remove them.
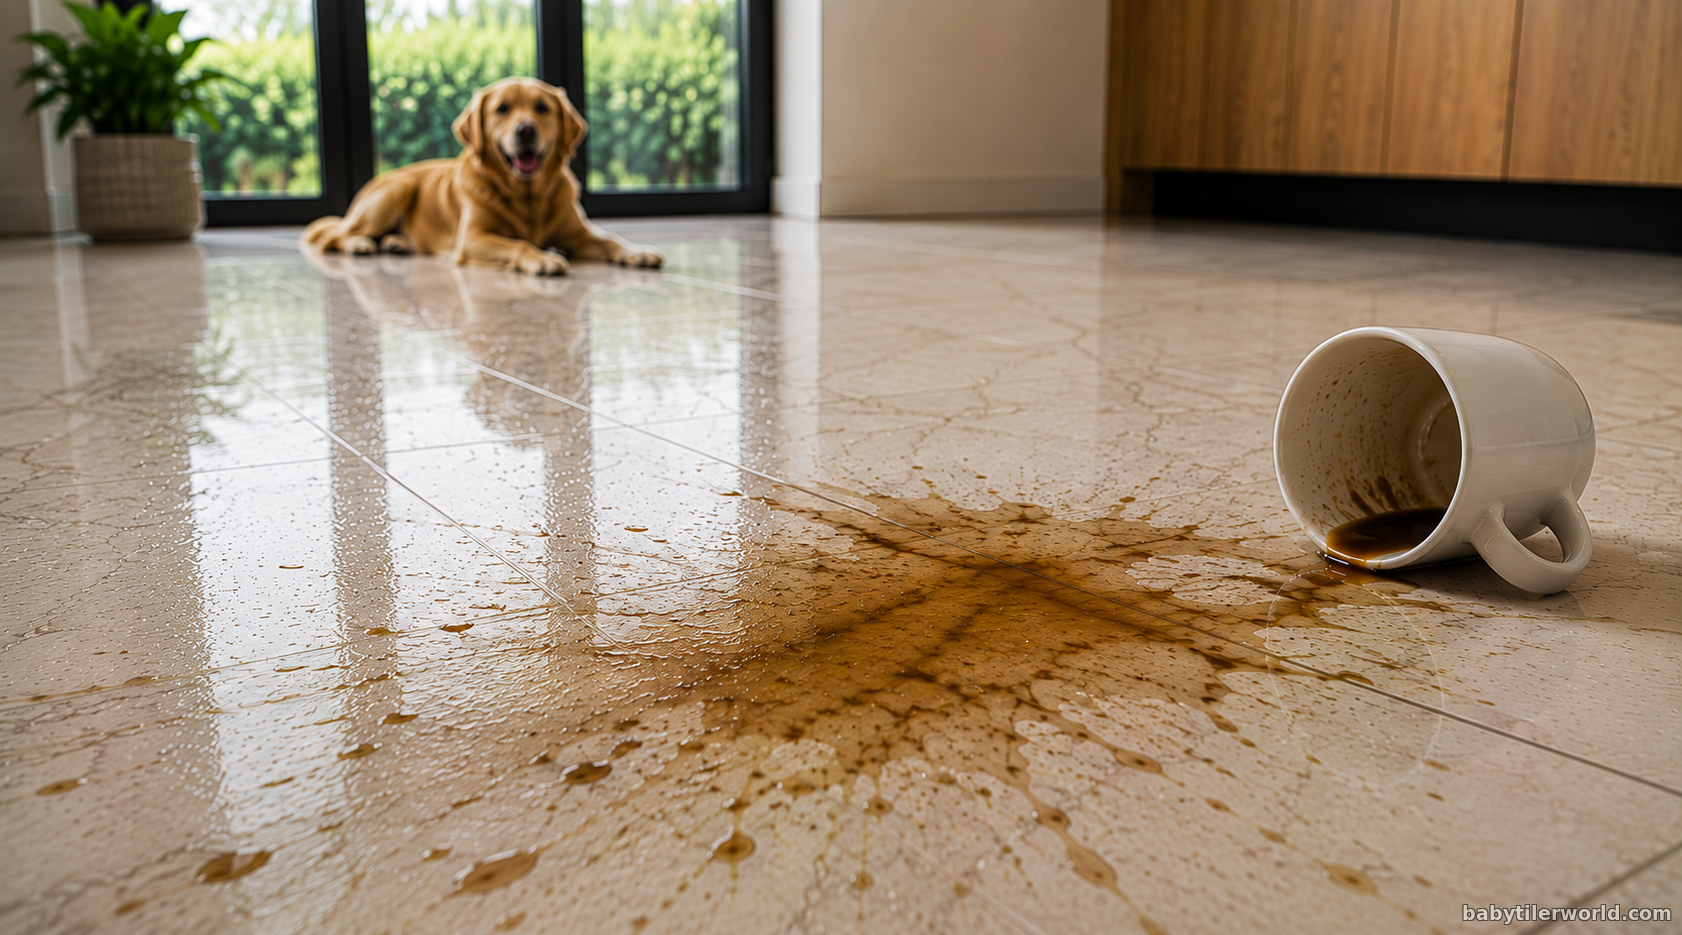
Coffee and Tea Stains
Why they happen
Coffee and tea contain natural pigments called tannins.
When spilled, these pigments dry on the tile surface, leaving brown discoloration.
On glazed porcelain, they're usually easy to remove.
On textured tiles, however, the liquid can settle into tiny grooves, making cleaning a little more challenging.
What You'll Need
• Warm water
• Mild dish soap
• Soft microfiber cloth
• Soft nylon brush (for textured tiles)
Step 1
Blot the spill immediately.
Don't wipe.
Blotting absorbs the liquid instead of spreading it across the floor.
Step 2
Mix a few drops of dish soap into warm water.
Dip your microfiber cloth into the solution and wipe the stain.
Step 3
If the stain has dried,
allow the warm soapy solution to sit on the stain for about five minutes.
This softens the residue.
Step 4
For textured porcelain,
use a soft nylon brush to gently scrub into the grooves.
Step 5
Rinse thoroughly with clean water.
Dry the area with a microfiber towel.
Mistakes to Avoid
Don't use steel wool.
Don't use abrasive scouring pads.
These can dull the finish over time.
Professional Tip
Fresh coffee stains usually disappear in less than a minute if cleaned immediately.
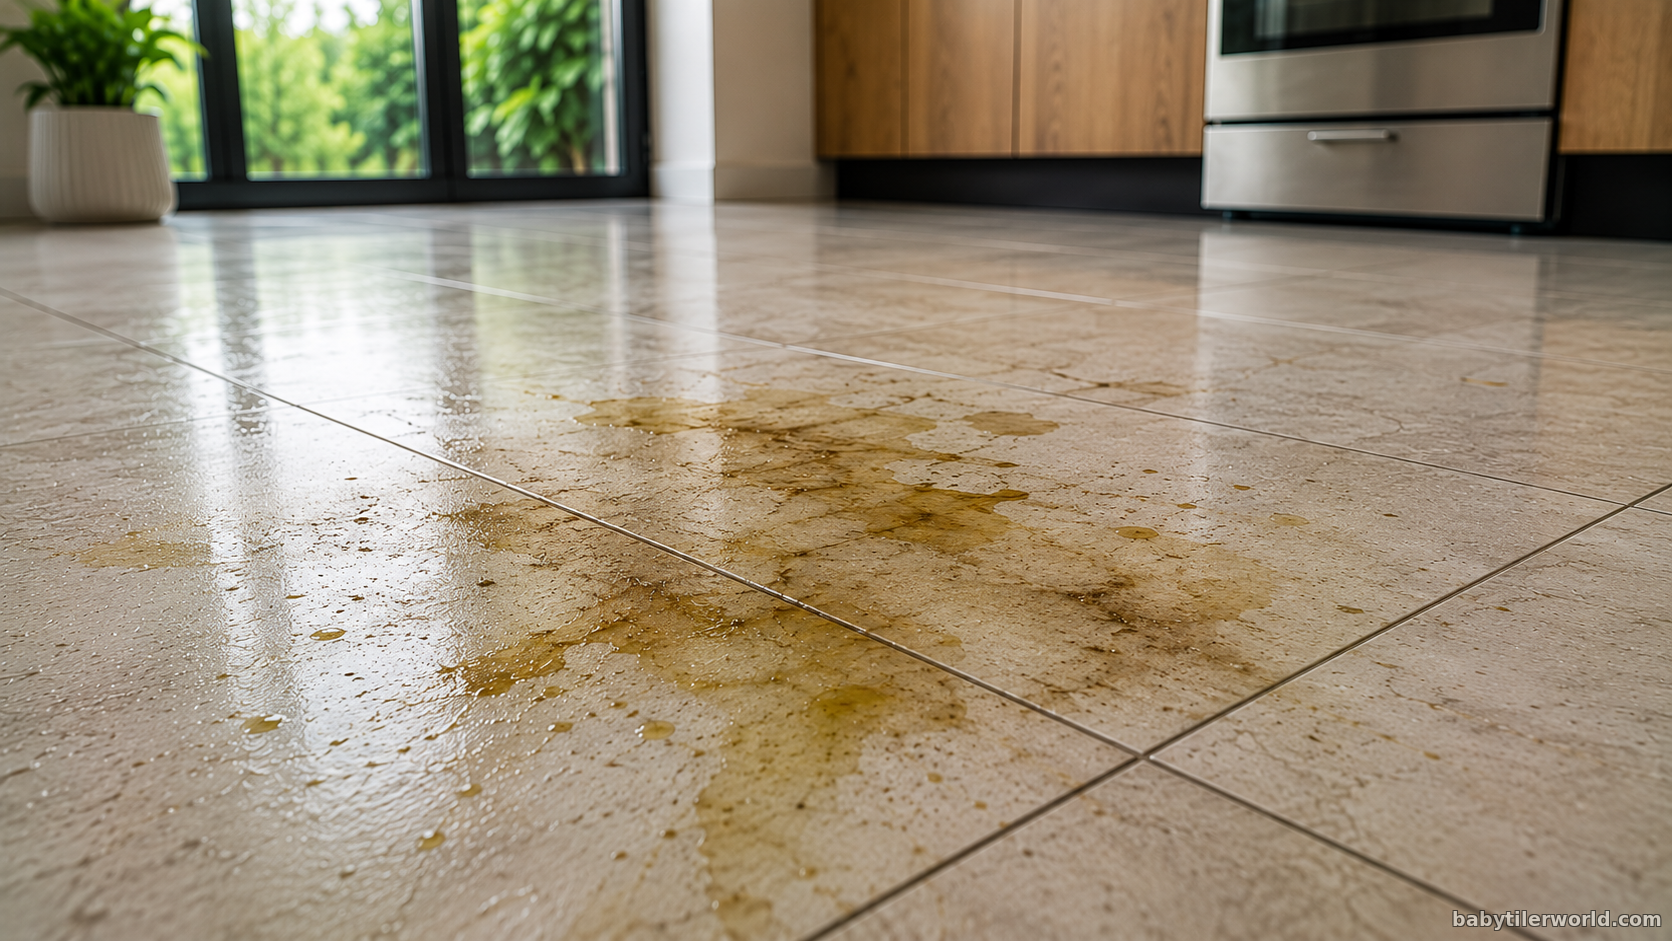
Grease Stains
Kitchen floors often collect grease from cooking oils, butter, meat, and food preparation.
Grease is different because oil and water naturally repel each other.
Simply mopping with water often spreads the grease instead of removing it.
What You'll Need
• Warm water
• Dish soap designed to cut grease
• Microfiber cloth
• Soft mop
Step 1
Remove any loose dirt first.
Cleaning grease over dirt simply creates muddy residue.
Step 2
Apply warm soapy water directly to the greasy area.
Let it sit for about three to five minutes.
This gives the soap time to break down the oils.
Step 3
Wipe using overlapping circular motions.
Avoid excessive scrubbing.
Step 4
Rinse with clean water.
This removes the loosened grease rather than leaving it behind.
Step 5
Dry the floor completely.
Mistakes to Avoid
Don't pour concentrated degreasers directly onto porcelain unless the manufacturer specifically recommends them.
Some products can leave residue or affect surrounding grout.
Professional Tip
Frequent light cleaning prevents grease from building into a sticky film that's much harder to remove.
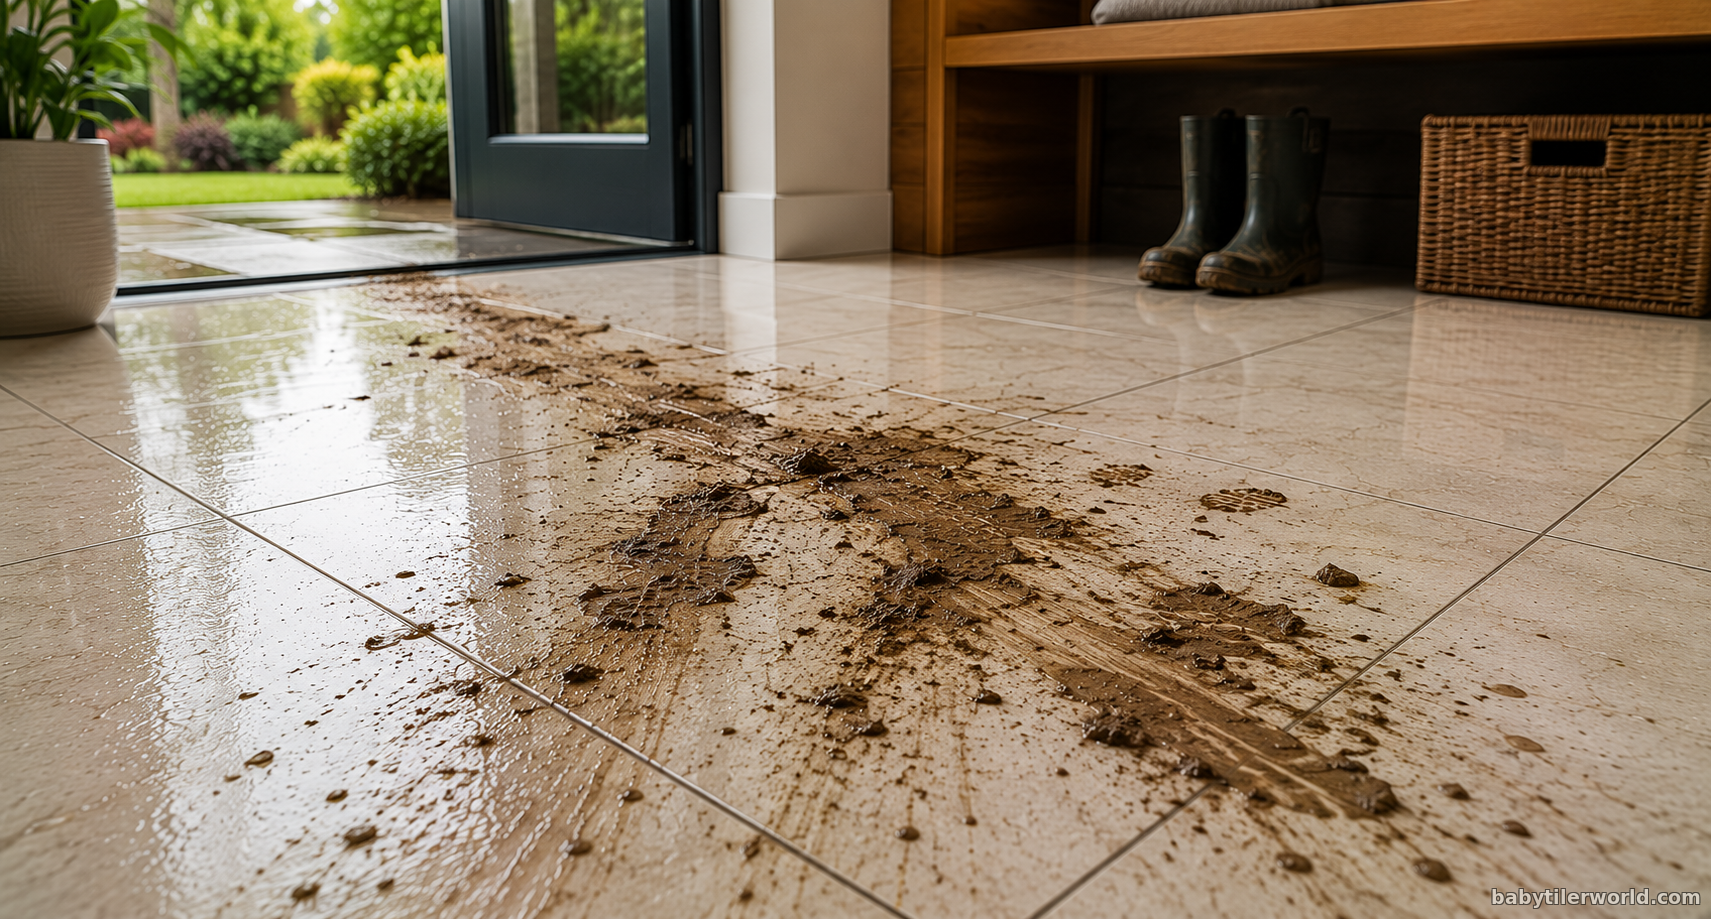
Mud Stains
Mud looks simple,
but it's actually a mixture of dirt, clay, sand, and organic material.
Cleaning it while it's still wet often spreads it over a larger area.
Step 1
Allow the mud to dry completely.
Step 2
Sweep or vacuum away the loose dried dirt.
This removes most of the mess before introducing water.
Step 3
Wash the remaining residue using warm water and a mild detergent.
Step 4
Use a soft brush for textured tiles where dirt collects inside small grooves.
Step 5
Rinse thoroughly.
Dry the surface.
Mistakes to Avoid
Never blast wet mud around with a soaking mop.
You're simply moving the dirt instead of removing it.
Professional Tip
Entry mats near doors dramatically reduce the amount of mud reaching porcelain floors.
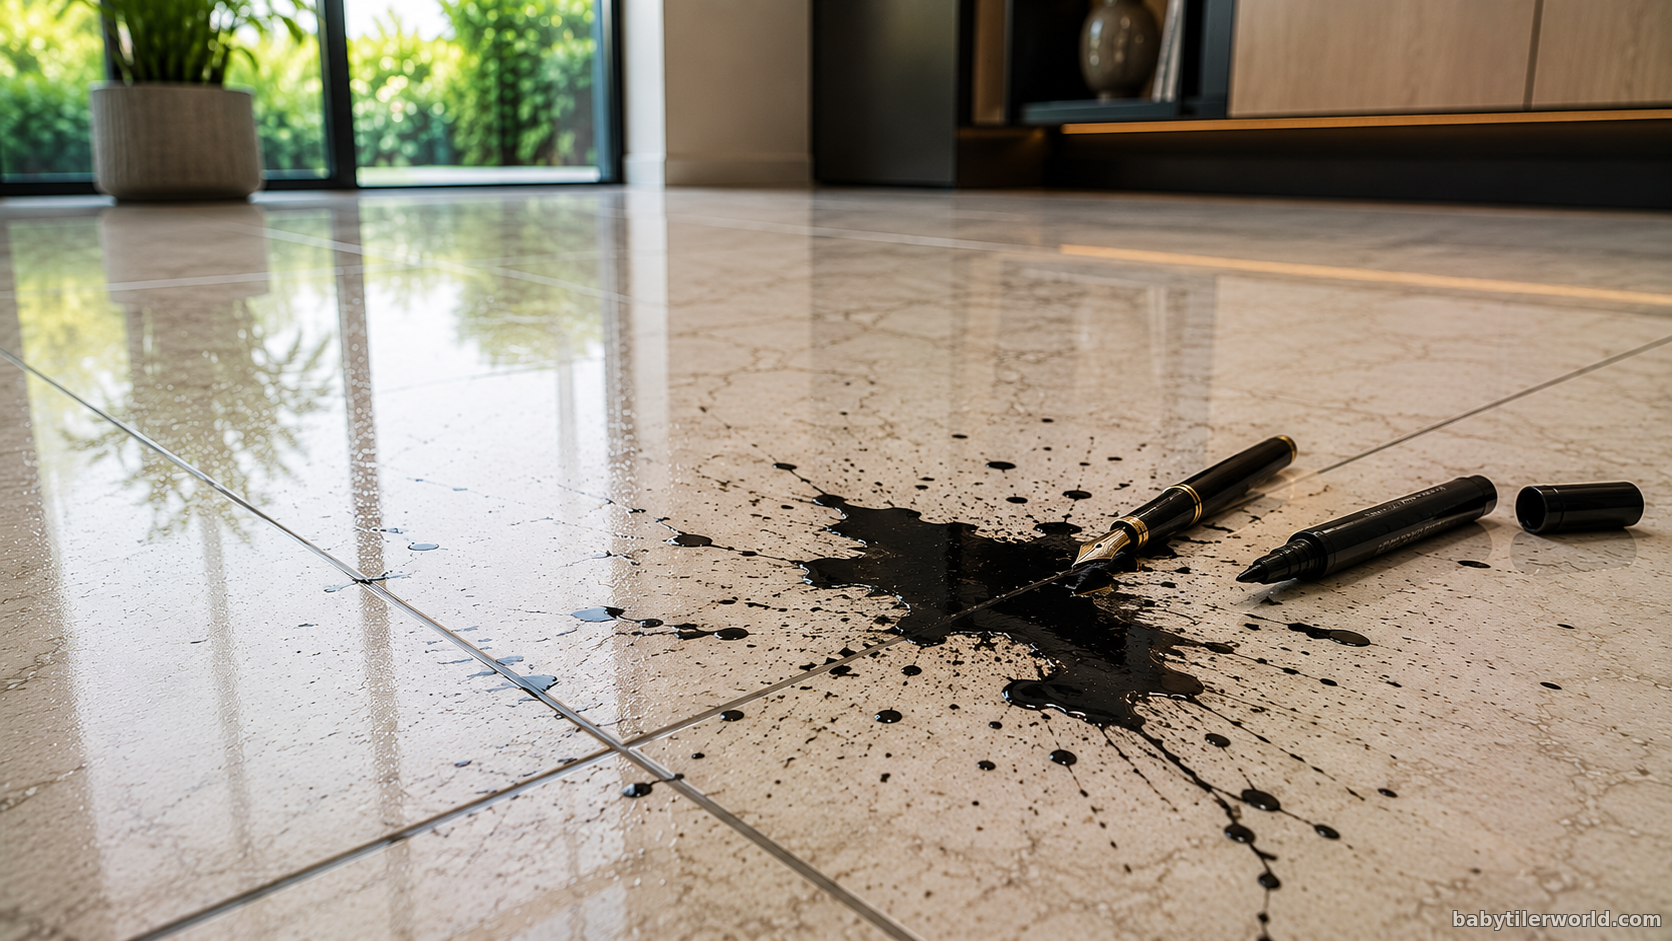
Ink Stains
Ink can seem alarming because it spreads quickly.
Fortunately,
glazed porcelain usually prevents the ink from penetrating deeply.
The faster you act,
the easier it is to remove.
Step 1
Blot gently.
Avoid rubbing.
Step 2
Clean with warm water and mild soap first.
Many fresh ink stains disappear immediately.
Step 3
If any residue remains,
dampen a microfiber cloth with a small amount of rubbing alcohol.
Gently wipe the stain.
Step 4
Rinse the area thoroughly with clean water.
Step 5
Dry completely.
Mistakes to Avoid
Never pour alcohol directly onto the floor.
Apply it to the cloth first.
This gives better control and reduces unnecessary exposure to grout or surrounding surfaces.
Professional Tip
Always test rubbing alcohol on a hidden area first, especially around decorative borders or specialty finishes.
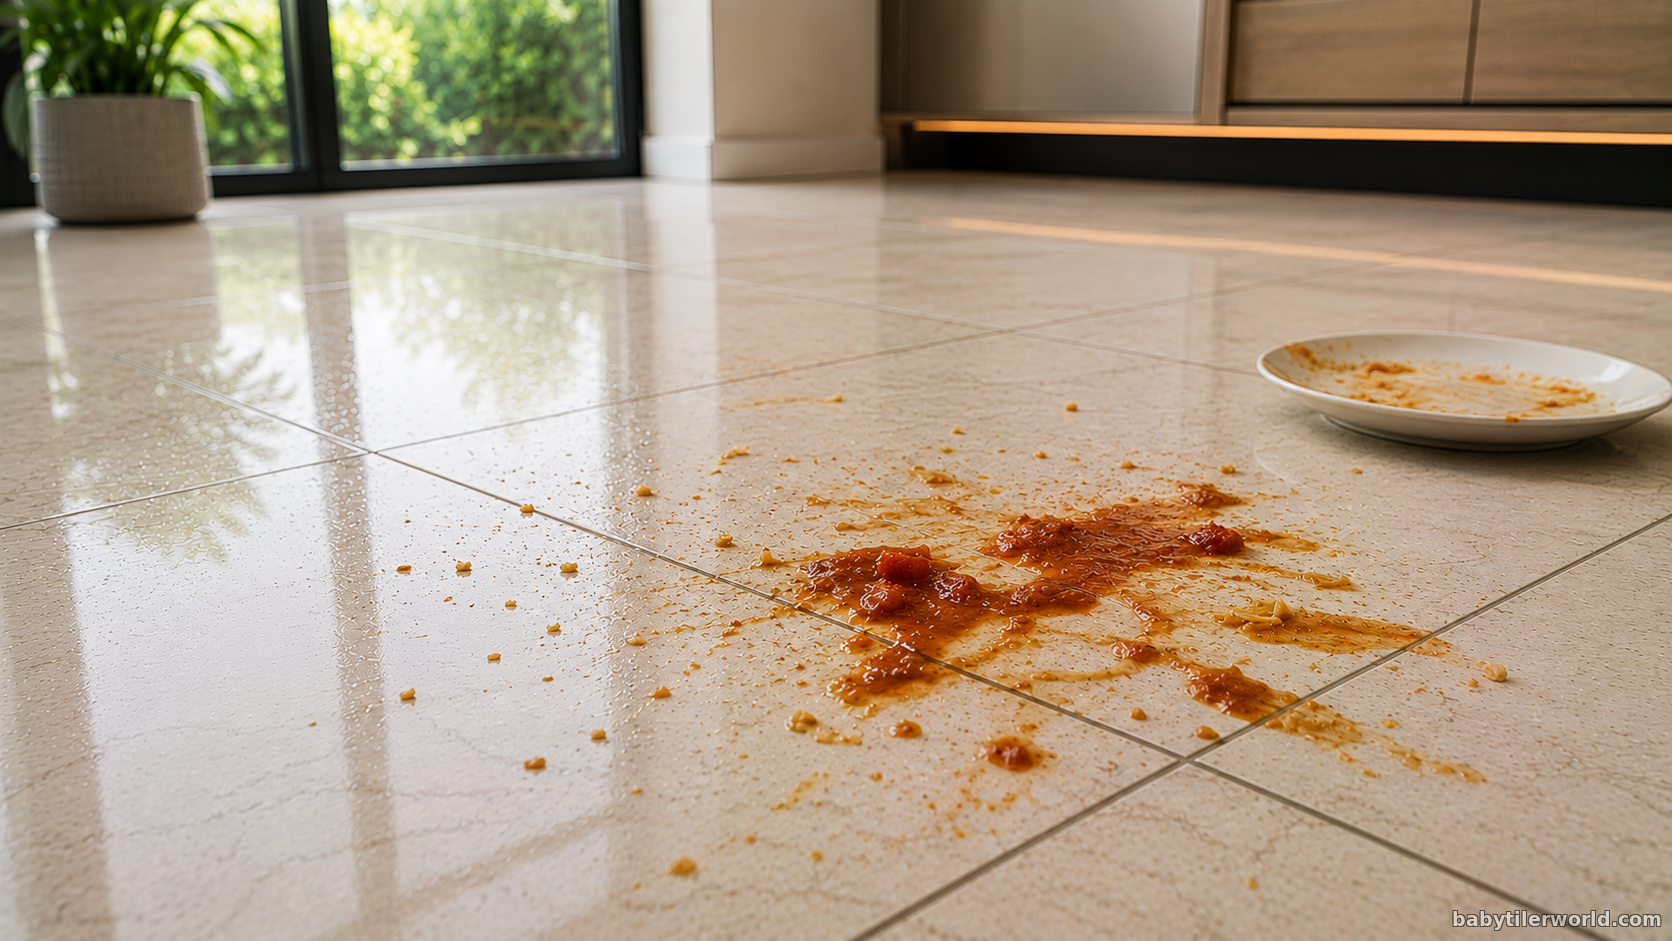
Food Stains
Food spills come in many forms:
Tomato sauce.
Fruit juice.
Chocolate.
Wine.
Curry.
Sauces.
Many contain pigments, sugars, or oils that become harder to remove once they dry.
Step 1
Remove any solid food first using a plastic scraper or paper towel.
Step 2
Wash the area with warm water and dish soap.
Step 3
Allow stubborn dried spills to soak for several minutes.
Step 4
Use a microfiber cloth or soft nylon brush.
Step 5
Rinse thoroughly and dry.
Mistakes to Avoid
Don't leave sugary spills overnight.
As the moisture evaporates, the residue becomes increasingly difficult to remove.
Professional Tip
Cleaning spills while they're still fresh almost always eliminates the need for stronger cleaners.
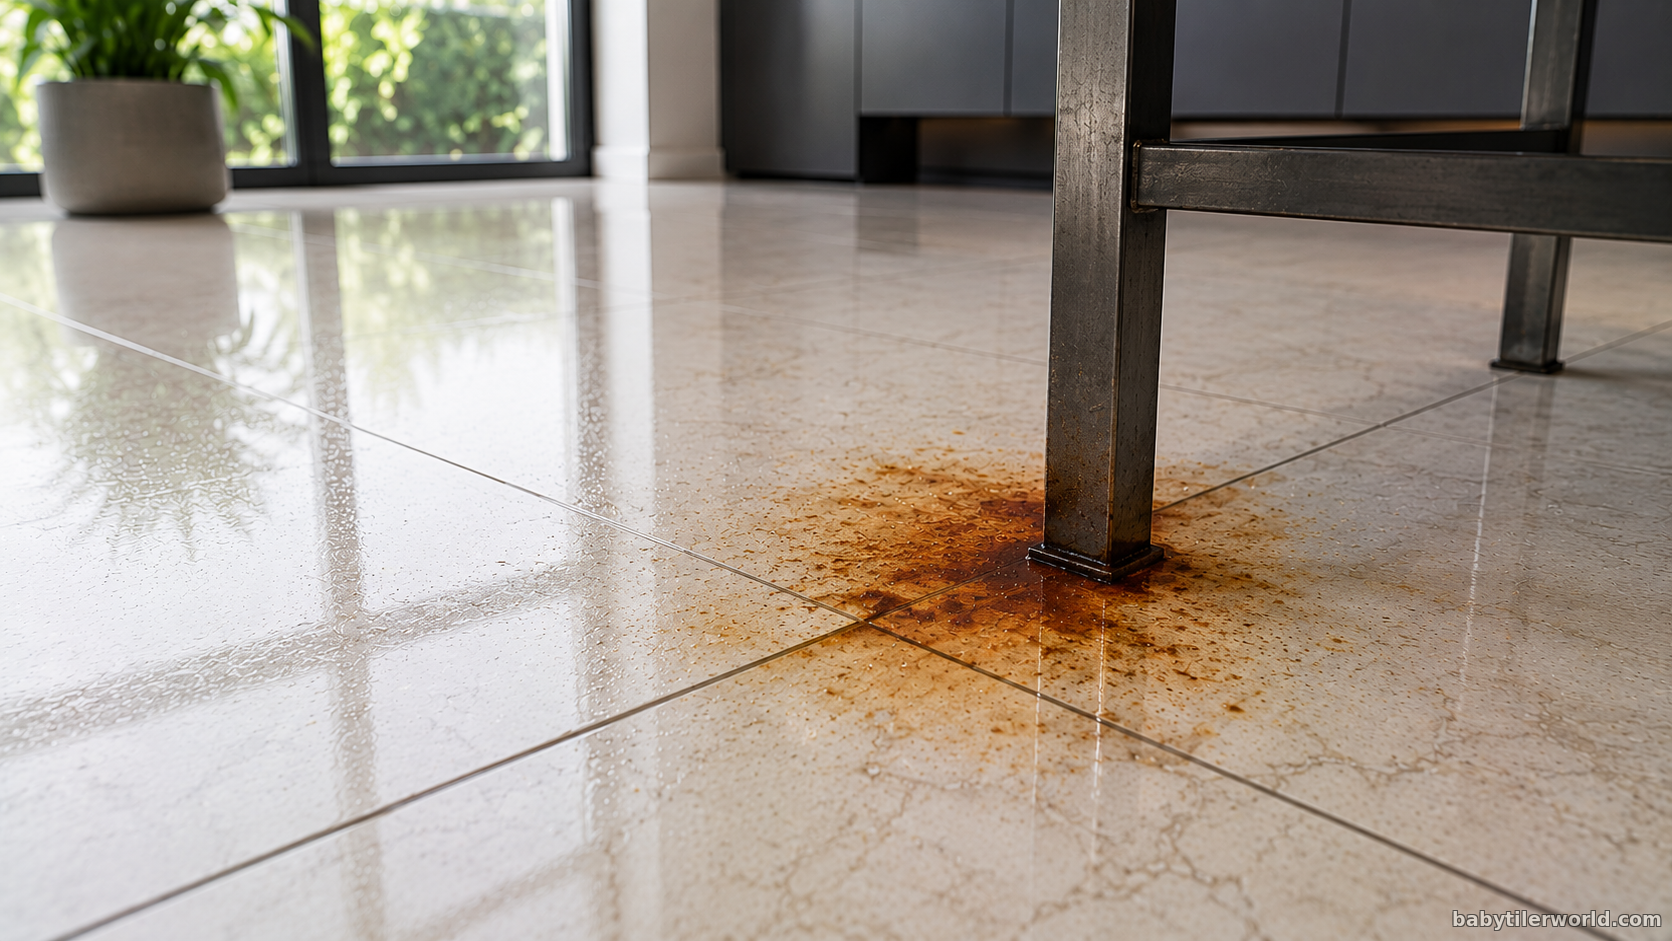
Rust Stains
Rust is one of the stains homeowners worry about the most.
Fortunately,
the rust usually doesn't come from the porcelain tile itself.
Instead, it comes from metal objects resting on the surface, such as:
• Table legs
• Plant pots
• Shelving
• Appliances
• Metal furniture
When moisture remains trapped beneath these objects, rust can transfer onto the tile.
Step 1
Remove the metal object causing the stain.
If it continues sitting there,
the stain will return.
Step 2
Wash the area using warm water and mild soap.
Sometimes the discoloration is only surface dirt mixed with rust.
Step 3
If the stain remains,
use a porcelain-safe rust remover according to the manufacturer's instructions.
Apply only the recommended amount and avoid prolonged contact with the surface.
Step 4
Rinse thoroughly with clean water to remove any remaining product.
Step 5
Dry the tile completely before placing metal items back.
Consider adding rubber or plastic pads beneath metal furniture legs to reduce future rust transfer.
Mistakes to Avoid
Don't use wire brushes or abrasive metal tools.
They can scratch the tile and leave tiny metal particles behind, which may create new rust spots later.
Avoid leaving rust-removal products on the tile longer than instructed.
Professional Tip
If rust keeps returning in the same location, focus on the source rather than repeatedly treating the stain. Fixing the moisture problem or protecting the metal object usually prevents the issue from coming back.
Key Takeaways
Most porcelain tile stains can be removed successfully with three simple principles:
* Clean spills as soon as possible.
* Start with the gentlest cleaning method before trying stronger products.
* Rinse and dry the surface after cleaning to prevent residue from attracting more dirt.
Following these habits keeps porcelain tiles looking clean without unnecessary wear or harsh chemicals.
How to Clean Grout
Even if your porcelain tiles are spotless, dirty grout can make the entire floor look neglected. Because grout is more porous than porcelain, it naturally absorbs dirt, grease, soap residue, and moisture over time. This makes grout lines one of the first places where stains become noticeable.
The good news is that most grout stains can be removed with the right cleaning methods and without resorting to harsh chemicals that may damage the grout.
Why Grout Gets Dirty Faster Than Tiles
Unlike porcelain tiles, which have a dense, non-porous surface, grout contains tiny pores that trap contaminants. Everyday foot traffic carries dust, oils, and fine debris into these pores, while kitchens expose grout to grease and food spills. Bathrooms add another challenge with soap scum, shampoo residue, hard water minerals, and excess moisture, all of which contribute to discoloration.
Without regular cleaning, these deposits accumulate and can eventually encourage the growth of mold and mildew, especially in damp or poorly ventilated areas.
How to Clean Grout Safely
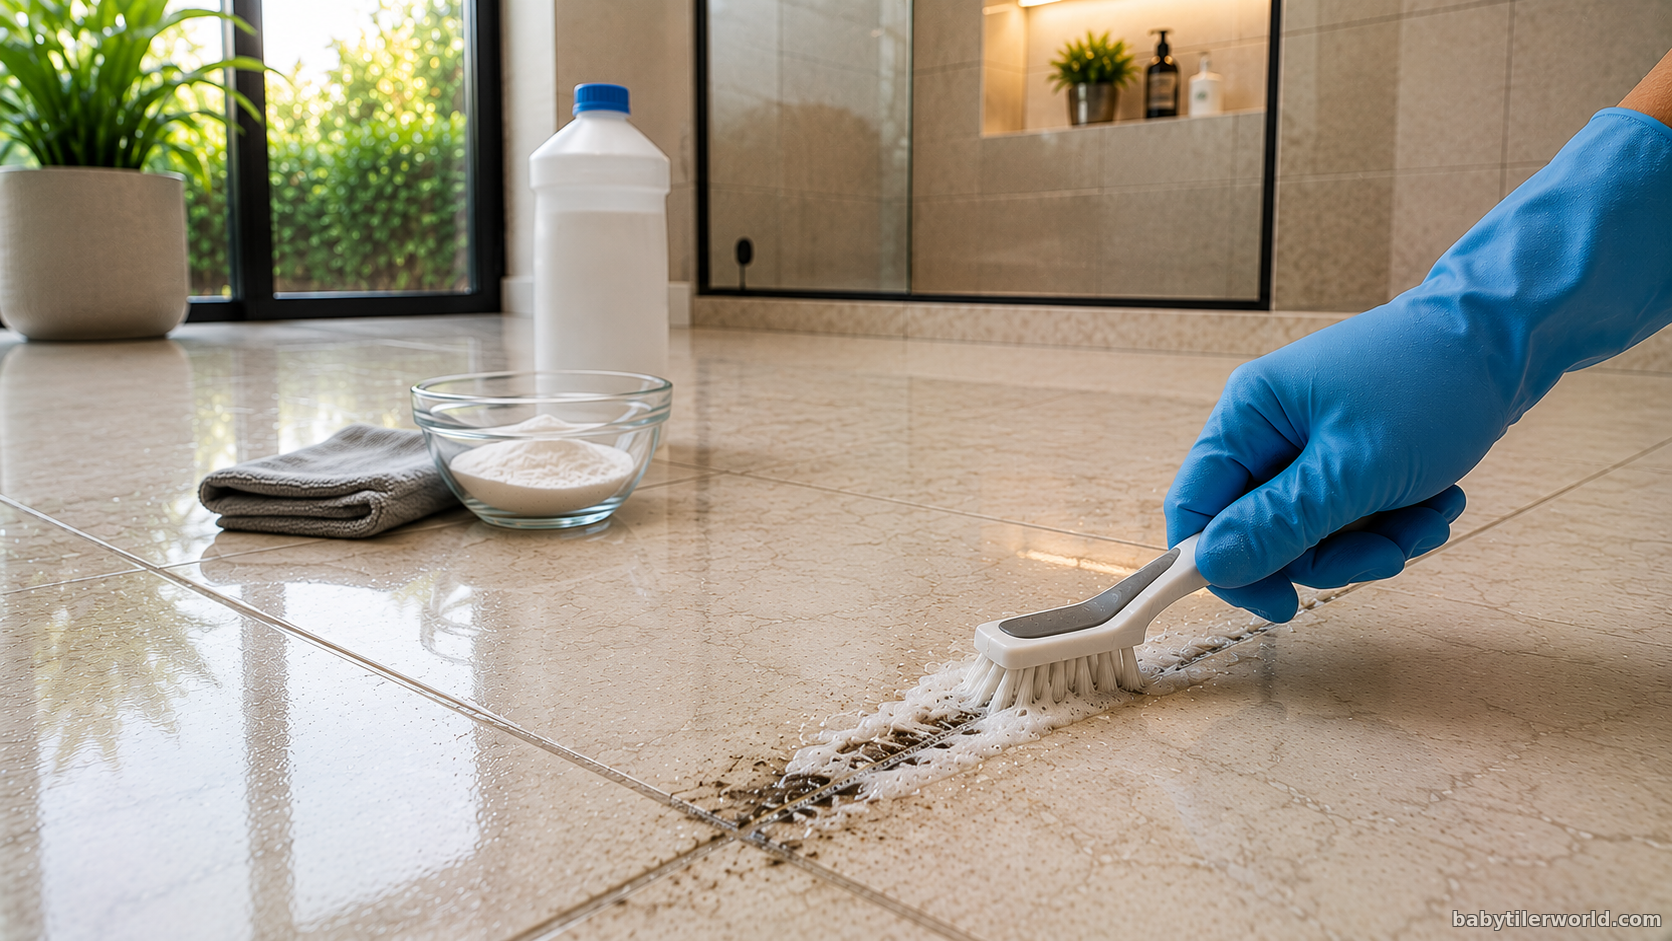
For routine cleaning, start with warm water and a pH-neutral tile cleaner. Apply the solution to the grout lines and allow it to sit for several minutes. Giving the cleaner time to penetrate the dirt reduces the amount of scrubbing required.
Next, use a soft nylon grout brush or an old soft-bristled toothbrush to scrub the grout gently in circular motions. Avoid using excessive force, as aggressive scrubbing can wear away the grout surface over time.
After scrubbing, rinse thoroughly with clean water to remove any remaining cleaner and loosened dirt. Dry the surface with a microfiber cloth to prevent water spots and reduce moisture that could encourage mold growth.
Removing Stubborn Grout Stains
Some stains require a little extra attention. A paste made from baking soda and water is often effective for lifting embedded dirt without damaging the grout. Spread the paste over the stained grout lines, allow it to sit for about ten minutes, then gently scrub before rinsing thoroughly.
If grease is the problem, particularly in kitchen floors, a pH-neutral degreasing cleaner formulated for tile surfaces can help break down oily residues safely.
For mold and mildew in bathrooms or other damp areas, use a cleaner specifically labeled for mold removal and follow the manufacturer's instructions carefully. Improving ventilation by using an exhaust fan or opening windows after showers can significantly reduce future mold growth.
Cleaning Products to Avoid
Many homeowners assume stronger chemicals produce better results, but this is not always true. Frequent use of bleach or ammonia-based cleaners can gradually weaken cement-based grout and may cause discoloration over time. Acidic cleaners, including vinegar and other household acids, can also erode unsealed grout by slowly breaking down the cementitious materials that hold it together.
Metal brushes and steel wool should also be avoided, as they can scratch nearby tiles and remove grout from the joints.
Protecting Grout After Cleaning
Once the grout is completely clean and dry, consider applying a grout sealer if it is compatible with your type of grout. A penetrating sealer creates a protective barrier that helps repel water, dirt, and stains while making future cleaning much easier.
Although sealing does not eliminate the need for maintenance, it can significantly extend the life and appearance of grout, especially in high-traffic areas and wet environments.
Key Takeaway
Clean grout plays a major role in the overall appearance of a tiled surface. By using gentle cleaning methods, avoiding harsh chemicals, and protecting grout with an appropriate sealer, you can keep both your porcelain tiles and grout looking fresh for years to come.
$IMAGE25$
Common Cleaning Mistakes That Can Damage Porcelain Tiles
Porcelain tiles are known for their durability, but even the toughest flooring can suffer if it's cleaned incorrectly. Many homeowners unknowingly shorten the lifespan of their tiles by using the wrong products or cleaning techniques. While these mistakes may not cause immediate damage, repeated exposure can gradually dull the finish, stain the grout, or even compromise the installation over time.
Understanding what not to do is just as important as knowing the correct cleaning methods.
Using Acidic Cleaners Too Frequently
One of the most common misconceptions is that stronger cleaners always produce better results. In reality, acidic products such as vinegar, lemon juice, or commercial acid-based cleaners are rarely necessary for routine porcelain tile maintenance.
Glazed porcelain tiles are generally resistant to mild acids, but the grout between them is often not. Frequent exposure to acidic cleaners can gradually erode cement-based grout, making it weaker and more susceptible to cracking or discoloration.
If your floor requires regular cleaning, stick to a pH-neutral cleaner designed specifically for tile surfaces. Reserve stronger specialty products only for situations where they are recommended by the manufacturer.
Scrubbing with Abrasive Tools
When faced with stubborn stains, it can be tempting to reach for steel wool, wire brushes, or abrasive scouring pads. While these tools may remove the stain, they can also scratch certain porcelain finishes and permanently damage polished surfaces.
Even microscopic scratches can dull the appearance of the tile over time and create tiny spaces where dirt accumulates more easily.
Instead, use:
* A microfiber cloth for daily cleaning.
* A soft nylon brush for textured tiles.
* A grout brush for grout lines.
* A non-abrasive sponge for stubborn spots.
These tools provide effective cleaning without risking surface damage.
Leaving Spills for Too Long
Porcelain itself is highly resistant to staining, but allowing spills to sit on the surface for extended periods is still not a good practice.
Coffee, wine, cooking oil, ink, food coloring, and other substances can discolor grout or leave residues that become harder to remove later. Sticky spills also attract dust and dirt, making the floor appear dirty even after it has dried.
Cleaning spills promptly not only keeps your floor looking its best but also reduces the amount of deep cleaning required later.
Using Too Much Cleaning Product
More cleaner does not necessarily mean a cleaner floor.
Applying excessive amounts of detergent or tile cleaner often leaves behind a thin residue that dries into a dull, sticky film. This residue attracts dust, footprints, and dirt, making the floor appear dirty again much sooner.
Always follow the dilution instructions provided by the manufacturer. A properly diluted cleaning solution is usually more effective than an overly concentrated one.
After cleaning, rinse the floor with clean water if recommended by the product instructions to remove any remaining residue.
Forgetting to Change Dirty Mop Water
Many people clean an entire floor using the same bucket of increasingly dirty water. Instead of removing dirt, the mop simply redistributes it across the surface.
As the water becomes cloudy, it contains fine particles of soil, grease, and cleaning residue that can leave streaks or a dull haze on the tiles.
For larger floors, replace the mop water whenever it becomes noticeably dirty. Clean water consistently produces better results.
Ignoring the Grout
Some homeowners focus entirely on the tile surface while overlooking the grout.
Because grout is more porous, it traps dirt much faster than porcelain. Even if the tiles are perfectly clean, dark or stained grout can make the entire floor look neglected.
Regularly cleaning grout and applying a suitable sealer when appropriate helps preserve the overall appearance of the floor and reduces future maintenance.
Using Wax or Oil-Based Products
Unlike natural stone, porcelain tiles do not require waxing to maintain their appearance.
Applying wax, polish, or oil-based treatments can leave behind a slippery coating that attracts dirt and creates an artificial shine. Over time, this buildup becomes increasingly difficult to remove and may require specialized cleaning products.
Porcelain tiles are designed to retain their appearance without the need for surface coatings. Routine cleaning is usually all that's required.
Neglecting Entryways
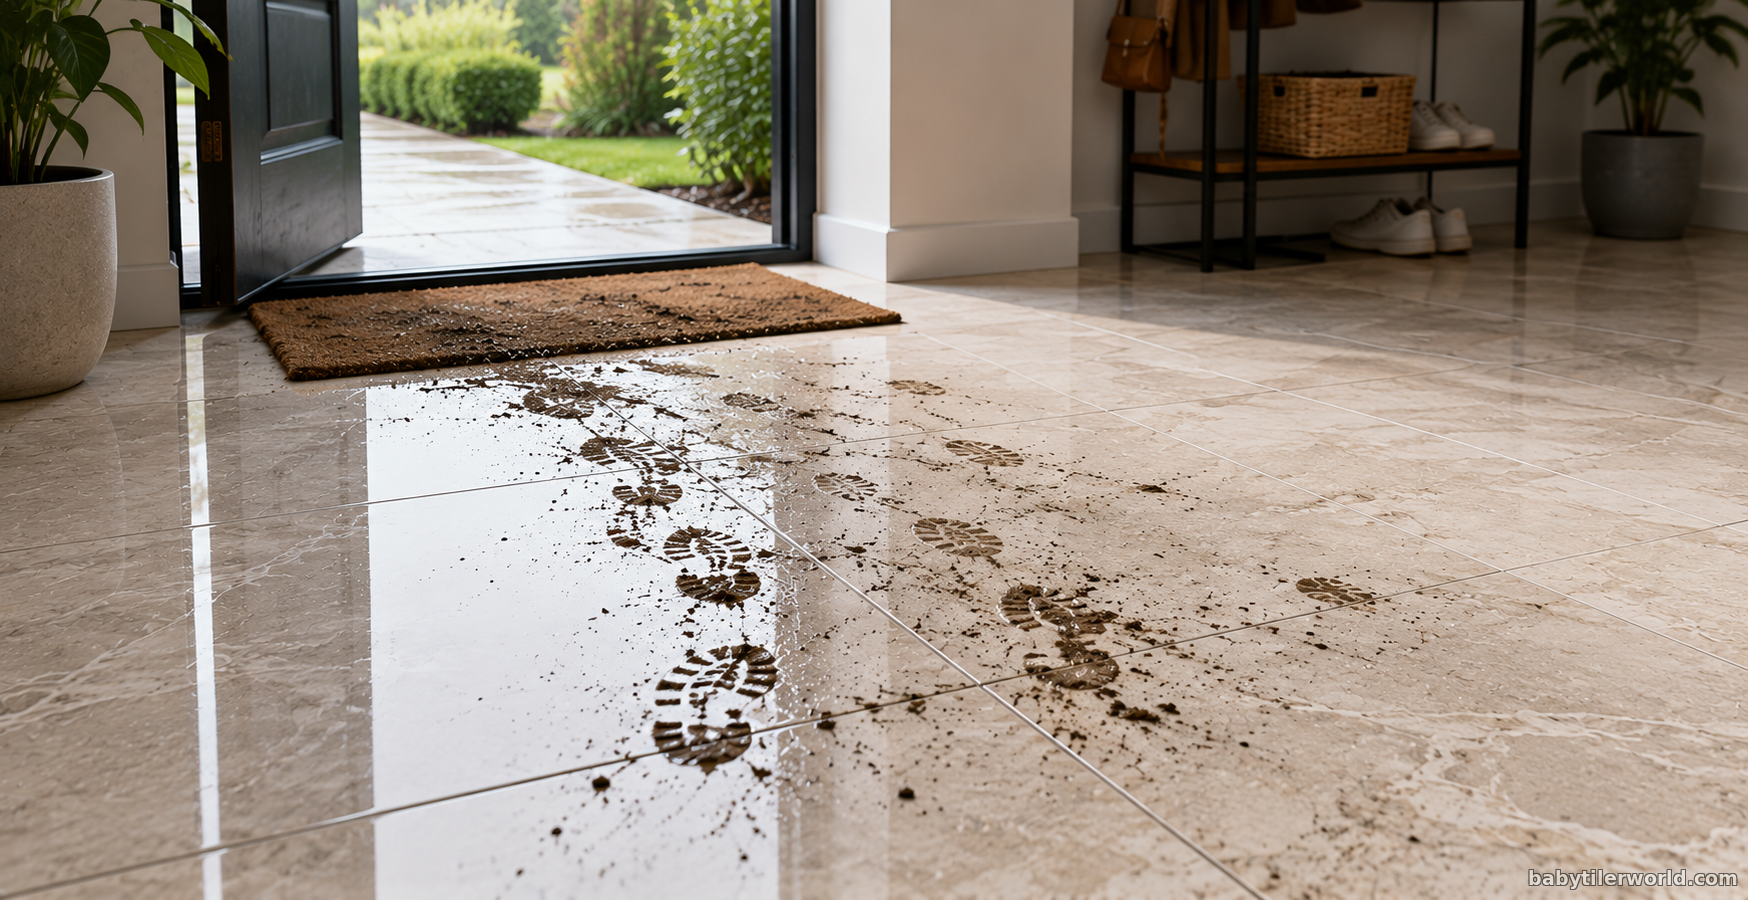
A surprising amount of dirt enters a home through shoes. Sand, small stones, and other abrasive particles act like fine sandpaper under foot traffic.
Over time, these particles can gradually wear the finish of polished porcelain tiles and scratch surfaces.
Placing high-quality doormats at entrances and sweeping regularly significantly reduces abrasive debris before it spreads throughout the home.
Skipping Routine Maintenance
Many people wait until their floor looks visibly dirty before cleaning it. Unfortunately, by that point, dirt has often accumulated in grout lines and textured surfaces, making cleaning much more difficult.
Simple routine maintenance, such as sweeping several times a week and damp mopping regularly, prevents dirt from building up and helps preserve the original appearance of the tiles with far less effort.
Key Takeaway
Porcelain tiles are remarkably durable, but their longevity depends on proper care. Avoiding harsh chemicals, abrasive tools, excessive cleaning products, and poor maintenance habits will help protect both the tiles and the grout. A consistent cleaning routine using the right products is far more effective than aggressive cleaning after dirt has already built up.
|